These free printable big and small worksheets give kindergarten children ten pages of size comparison. Each page holds four rows, and each row shows the same object twice, once large and once small. The child circles one of the two.
The question alternates. Odd-numbered pages say Circle the bigger one; even-numbered pages say Circle the smaller one. Nothing else on the page changes, so the only way to get it right is to read the heading – which is the part children skip.
Because both pictures in a row are the same object, size is the only thing there is to compare. No color, no shape, no counting. That sounds trivial until you notice what the pack does with it.
- What Is in This Free Big and Small Worksheet Pack
- The 10 Big and Small Worksheets
- Worksheet 1 – The Widest Gap in the Pack
- Worksheet 2 – The First Page That Asks for the Small One
- Worksheet 3 – The Gap Starts to Close
- Worksheet 4 – Small One Again, Four Everyday Objects
- Worksheet 5 – Halfway, and About Three Times the Size
- Worksheet 6 – A Gentle Smaller Page
- Worksheet 7 – Under Two and a Half Times
- Worksheet 8 – The Same Gap, Asking the Other Way
- Worksheet 9 – Twice the Area, and No More
- Worksheet 10 – The Closest Call: Under Twice the Area
- The Pages Get Harder, and Nothing on Them Says So
- When Children Are Ready for These Worksheets
- How to Use These Worksheets
- Three Things to Watch For
- Printing Tips
- Frequently Asked Questions
- More Free Comparing Worksheets
What Is in This Free Big and Small Worksheet Pack
- Ten printable worksheets, four rows on each page.
- Forty comparisons in all.
- The same object drawn twice in every row – large and small.
- The question alternates: bigger on pages 1, 3, 5, 7 and 9; smaller on 2, 4, 6, 8 and 10.
- No reading, counting or writing needed.
- A separate PDF for every page, free to download and print.
The 10 Big and Small Worksheets
These pages really are graded, and the grading is invisible until you measure it. The size difference shrinks steadily from the first page to the last. Work through them in order and they get harder; pick one at random and you may get a page that is far too easy or far too hard.
Worksheet 1 – The Widest Gap in the Pack
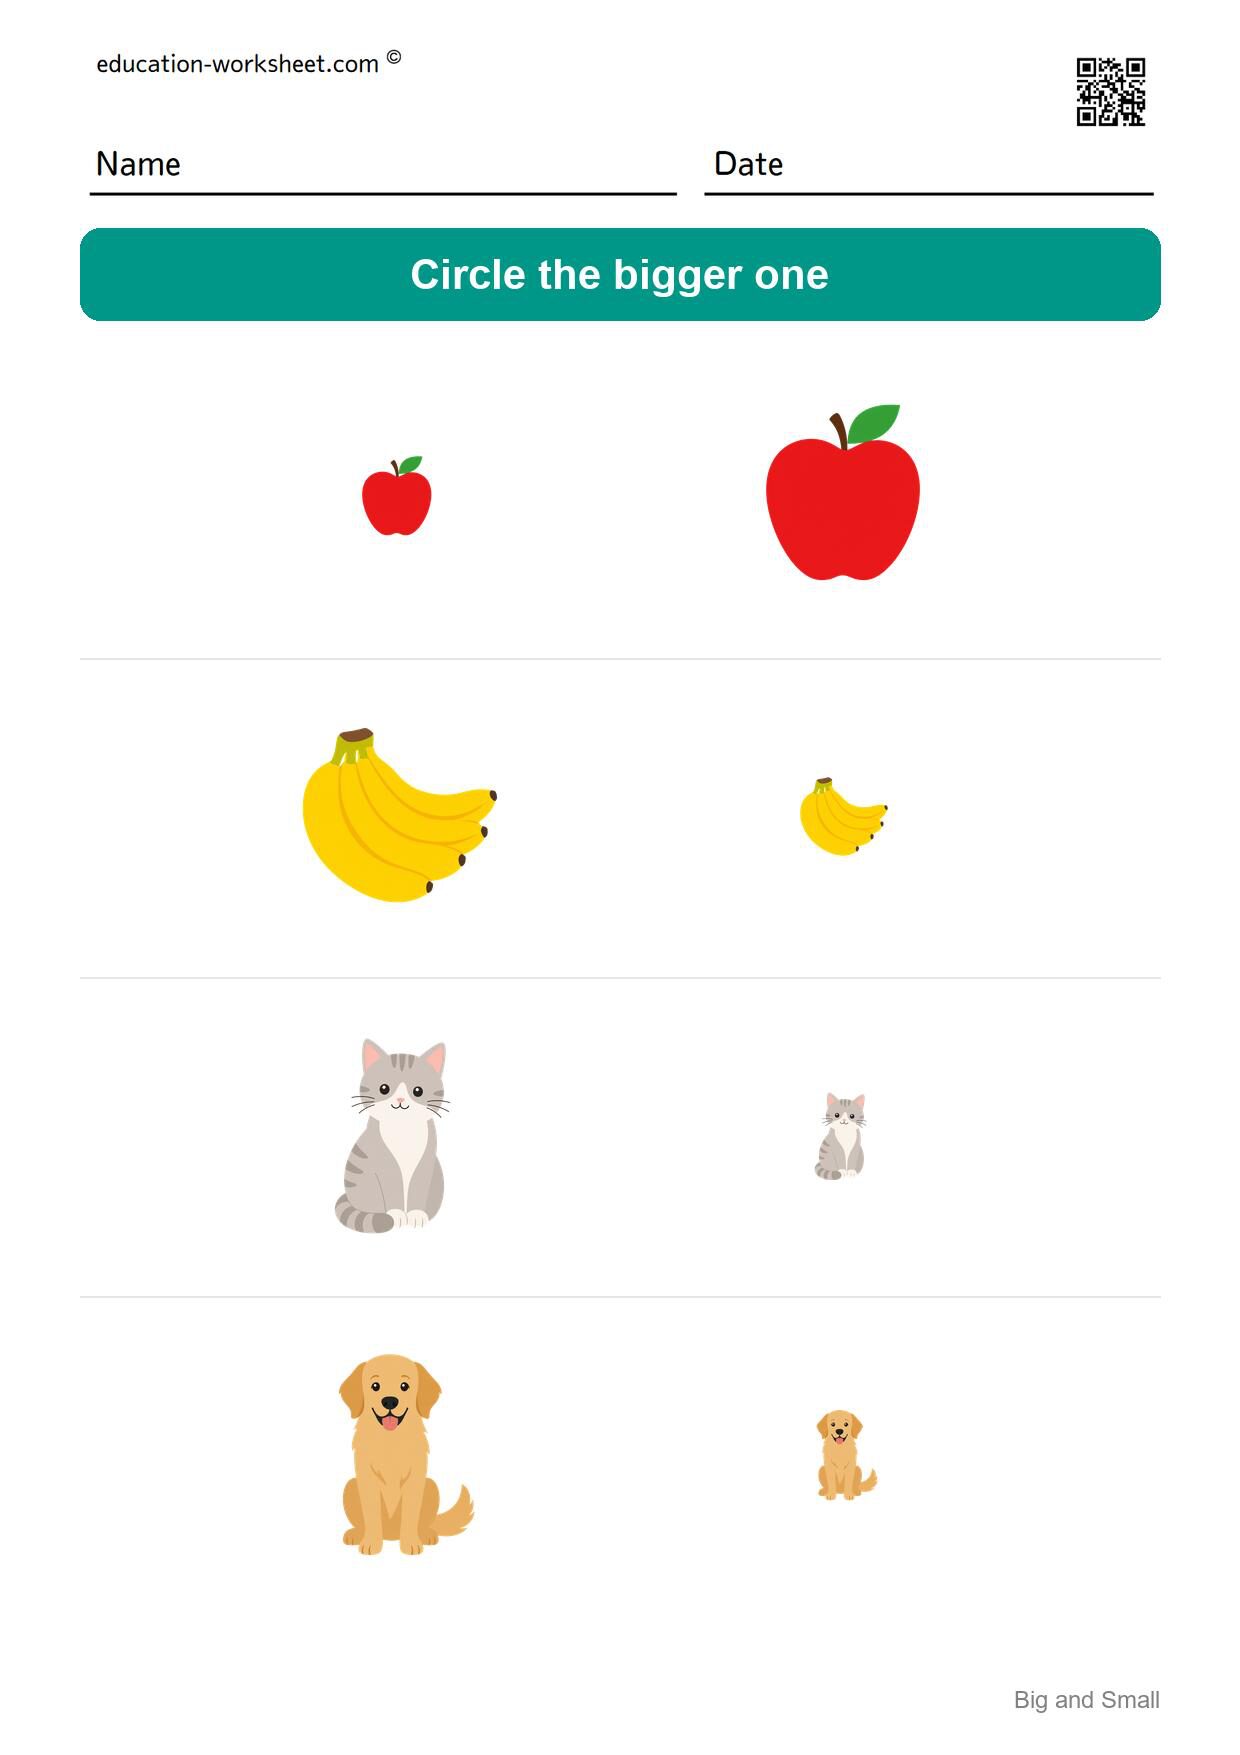
The big one has about four and a half times the area of the small one, which means roughly twice the height and twice the width. Nobody gets this page wrong, and that is what a first page is for. The heading asks for the bigger one. Pictures: an apple, bananas, a cat and a dog. The larger picture averages about 4.4 times the area of the smaller one, and it is on the left in 3 of the four rows.
Worksheet 2 – The First Page That Asks for the Small One
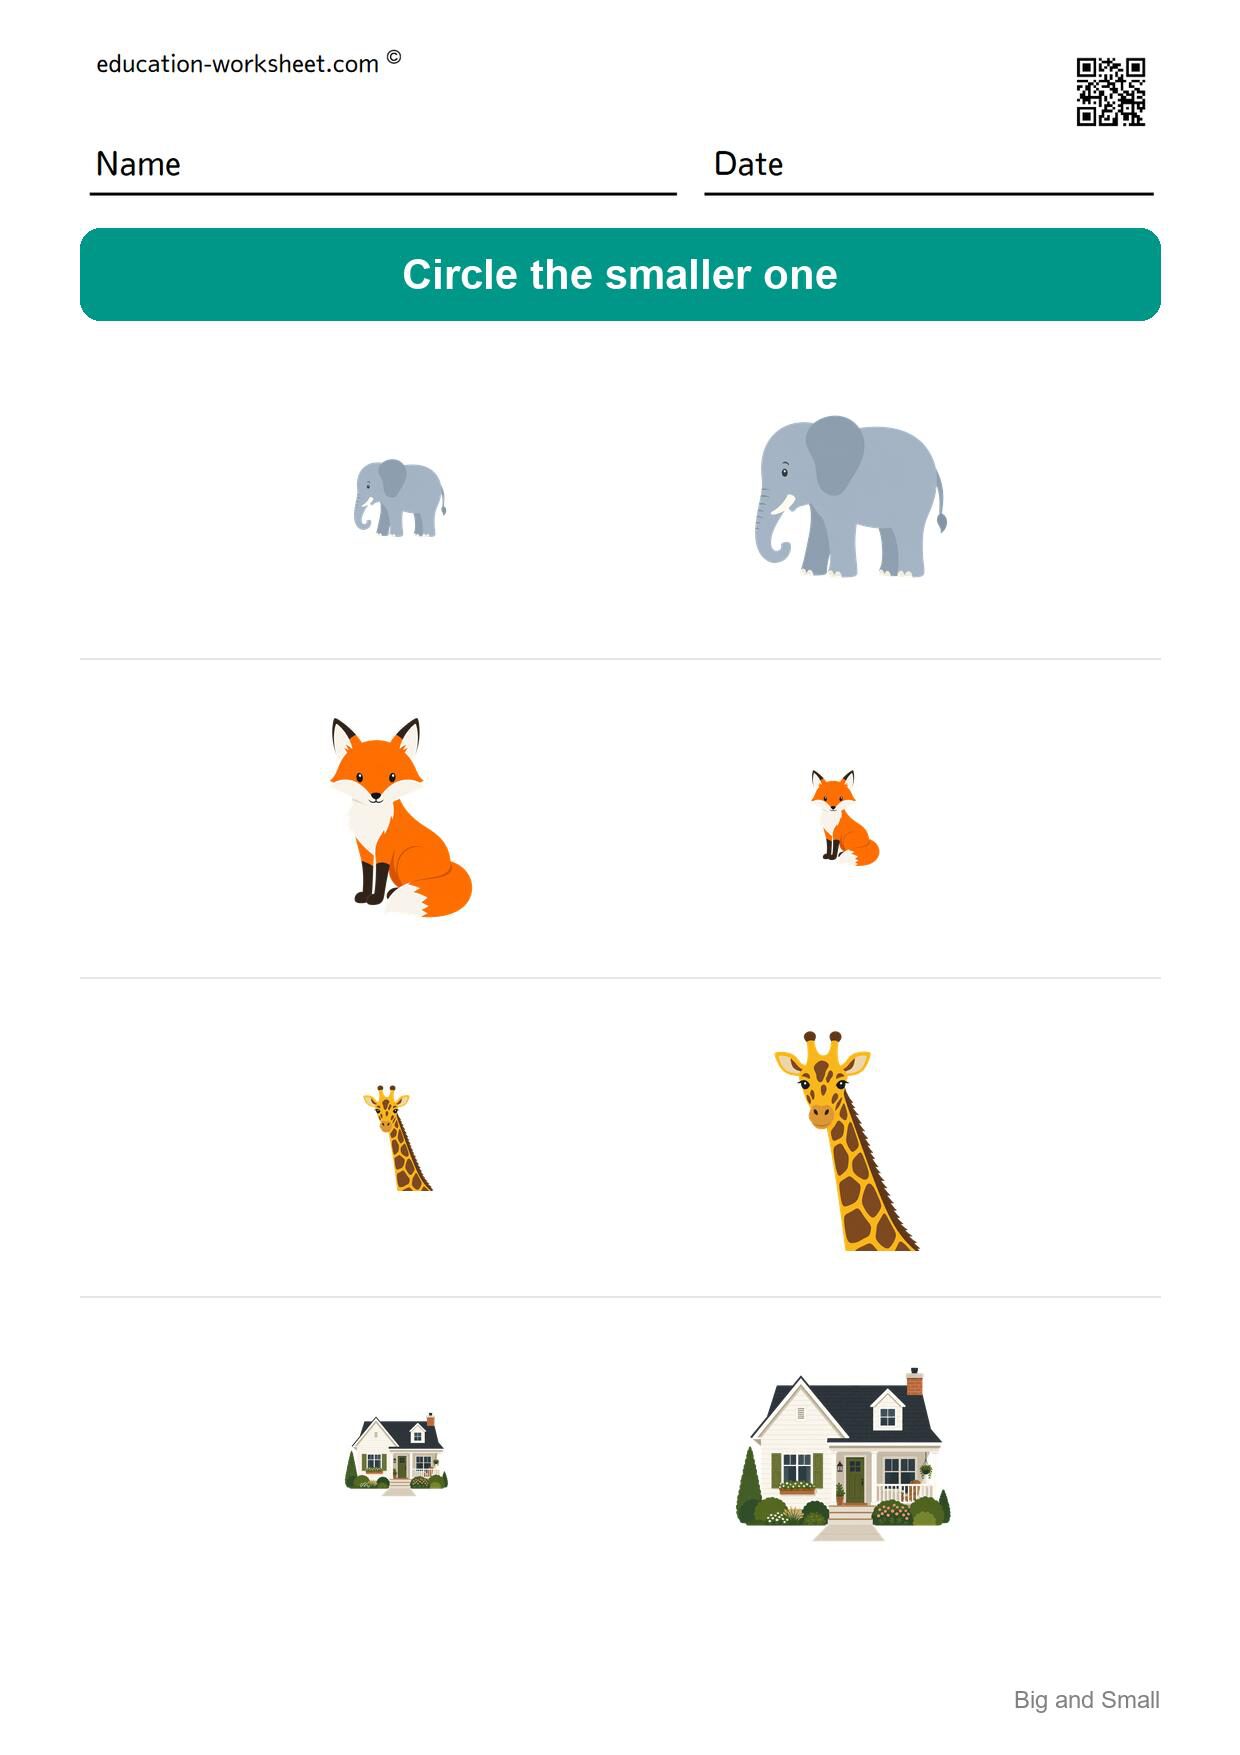
Everything about the page is the same except one word in the heading. Children who have done page 1 will circle the big one here out of habit, and that is the single most useful mistake in the pack. The heading asks for the smaller one. Pictures: an elephant, a fox, a giraffe and a house. The larger picture averages about 4.0 times the area of the smaller one, and it is on the left in 1 of the four rows.
Worksheet 3 – The Gap Starts to Close
Still a comfortable difference, but noticeably less than page 1. If you are working through in order, this is where a child starts actually looking rather than glancing. The heading asks for the bigger one. Pictures: a sun, a tree, an orange and a car. The larger picture averages about 3.5 times the area of the smaller one, and it is on the left in 2 of the four rows.
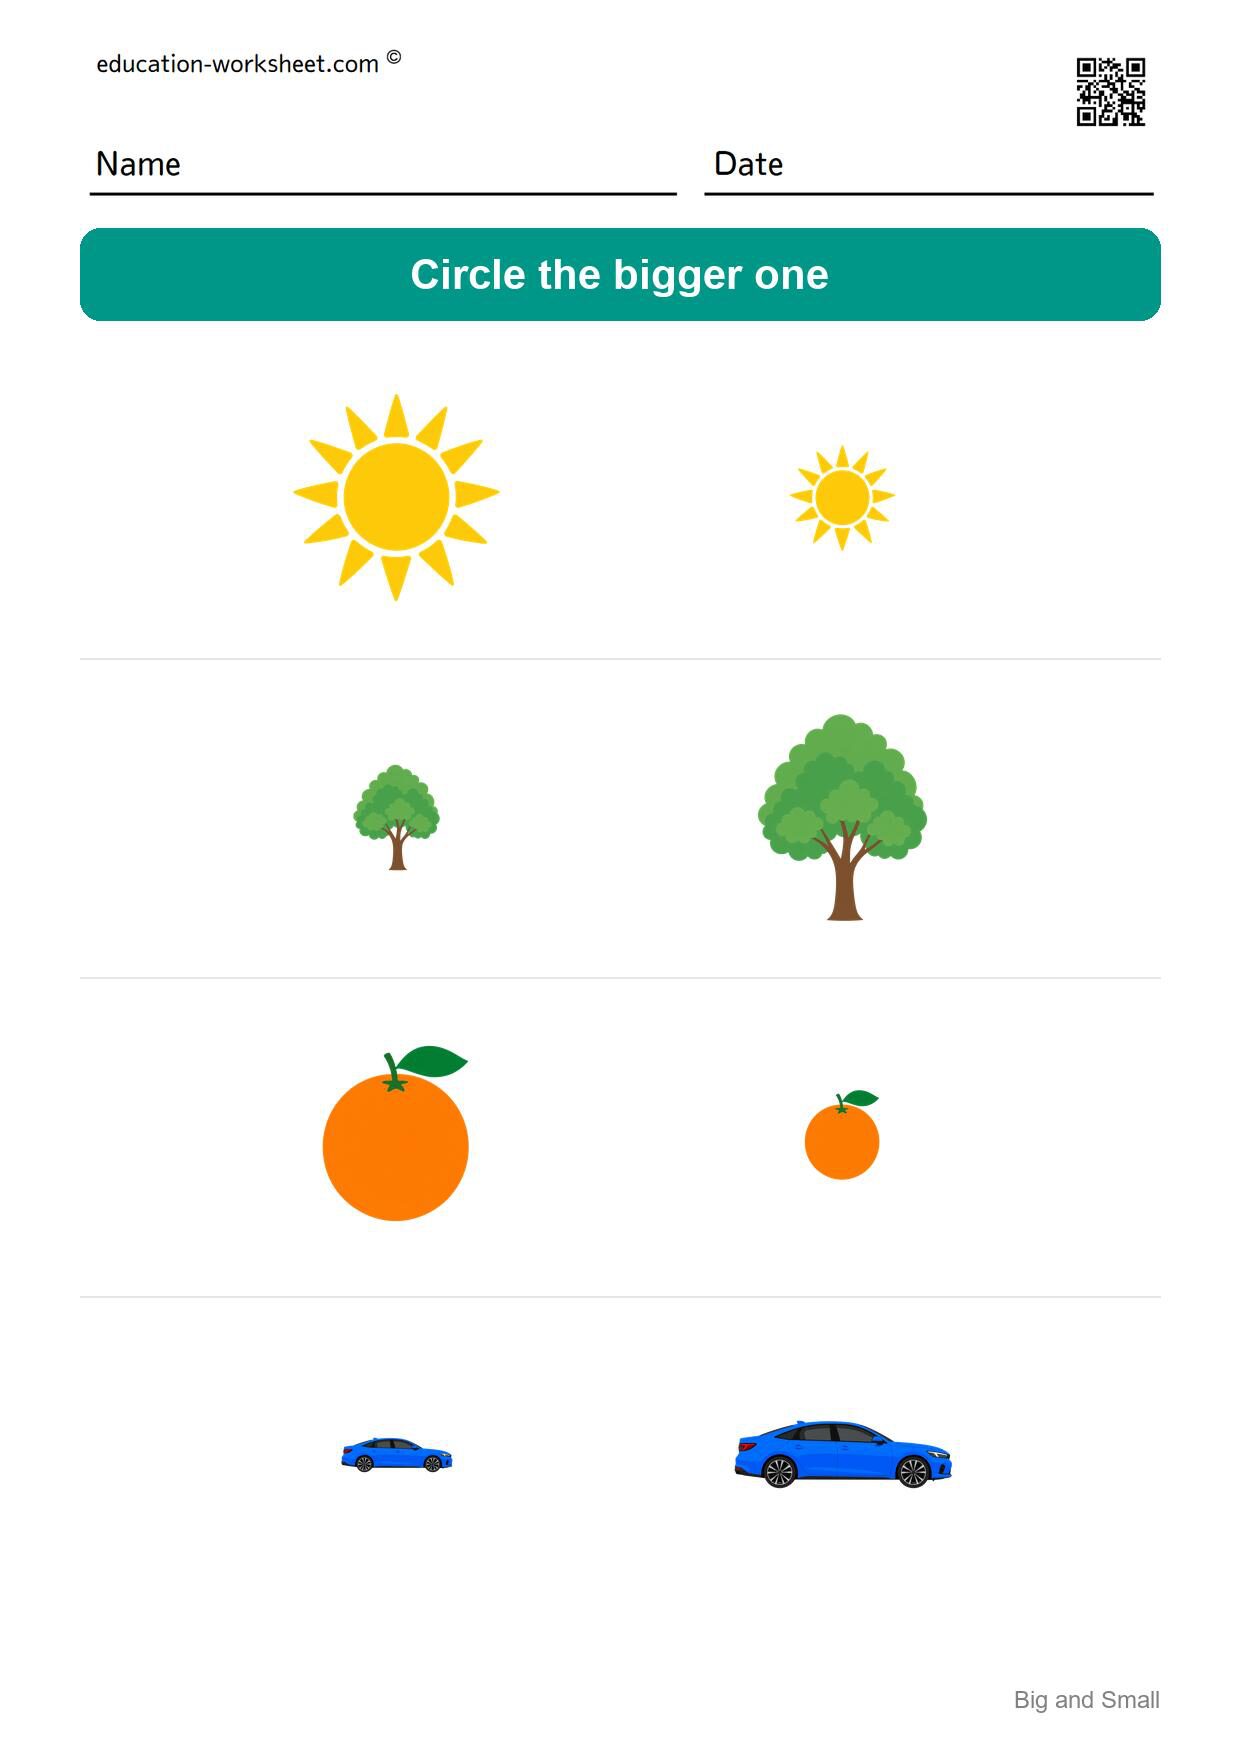
Worksheet 4 – Small One Again, Four Everyday Objects
The second smaller page. By now the word in the heading matters more than the pictures, and reading it out loud before starting is worth the three seconds. The heading asks for the smaller one. Pictures: a bus, a cap, grapes and a flower. The larger picture averages about 3.2 times the area of the smaller one, and it is on the left in 2 of the four rows.
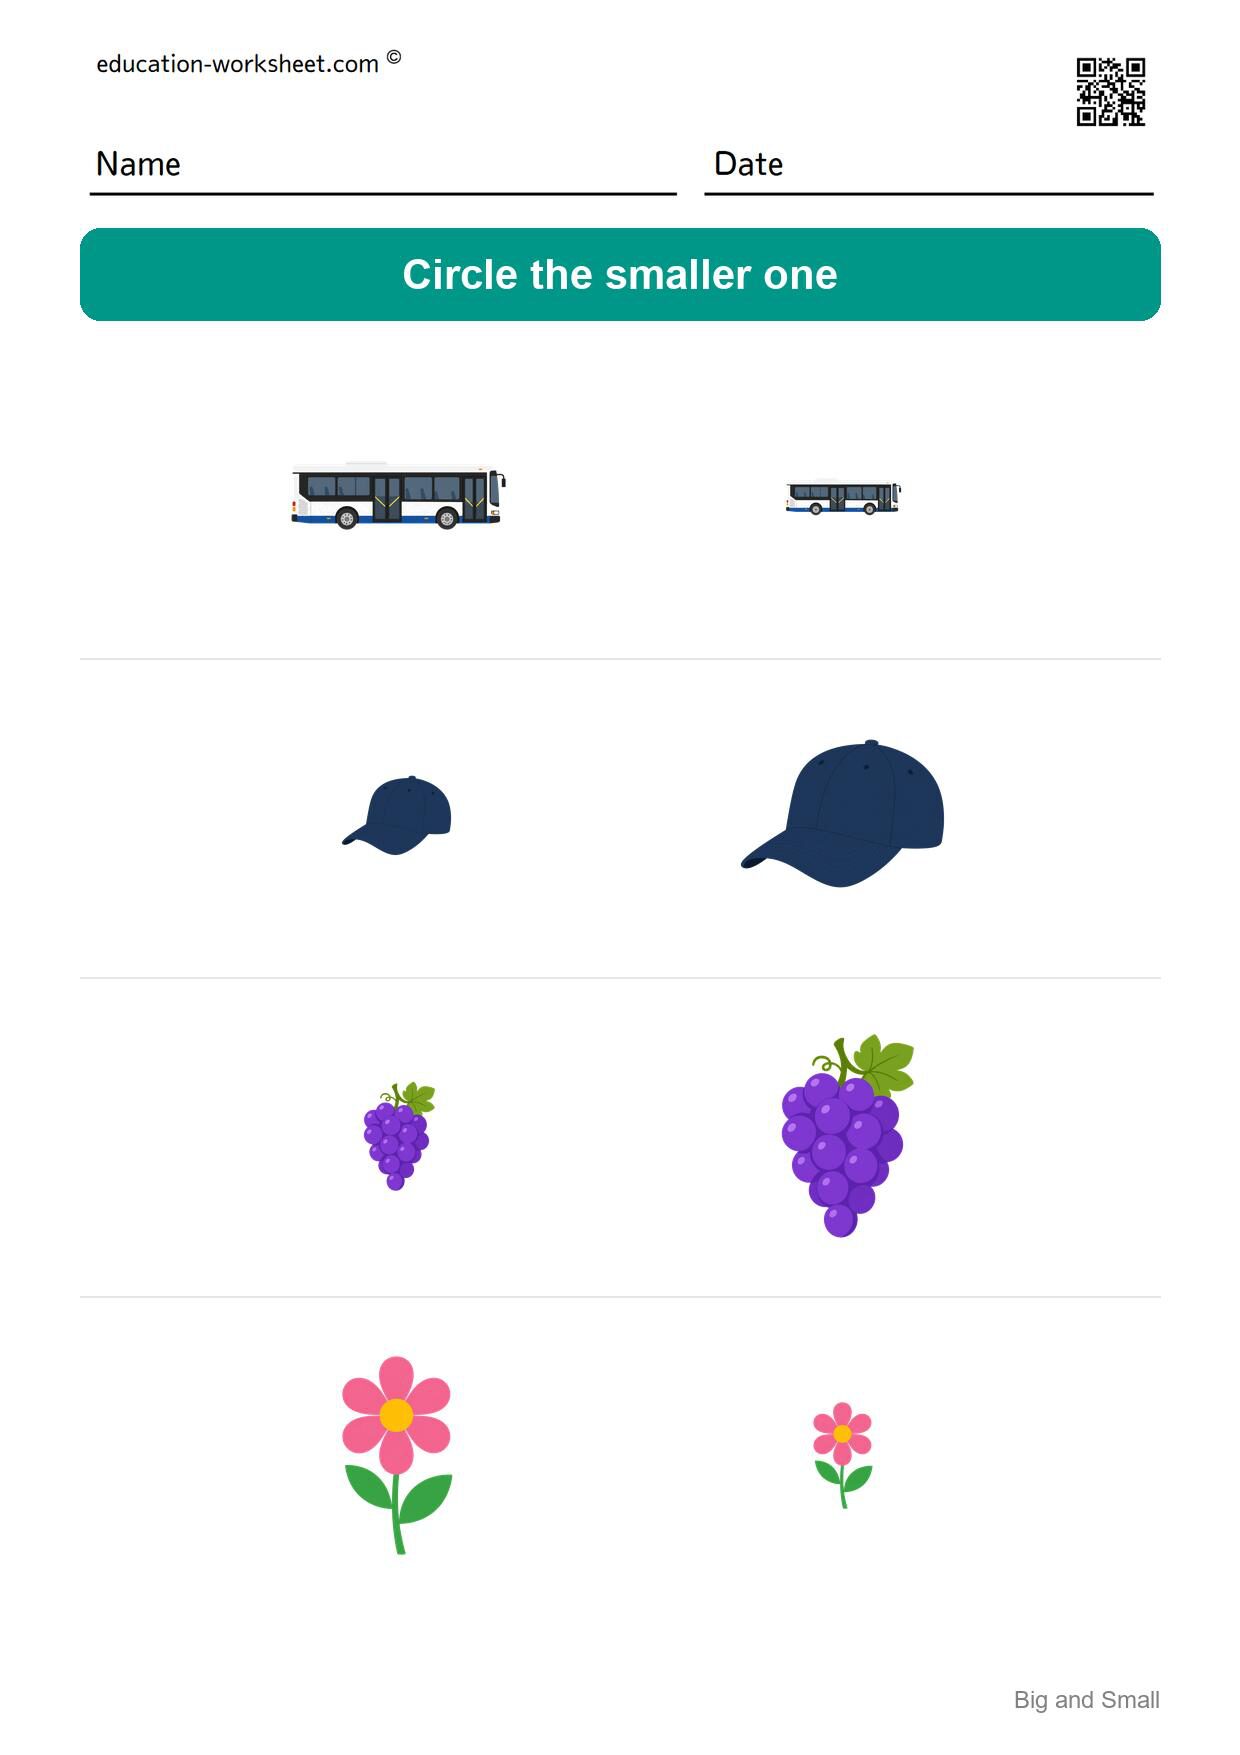
Worksheet 5 – Halfway, and About Three Times the Size
The middle of the pack. The bigger picture is roughly three times the area, so about seventy per cent taller. Comfortable, but no longer obvious from across the room. The heading asks for the bigger one. Pictures: a tomato, a panda, a lamp and a rainbow. The larger picture averages about 2.9 times the area of the smaller one, and it is on the left in 3 of the four rows.
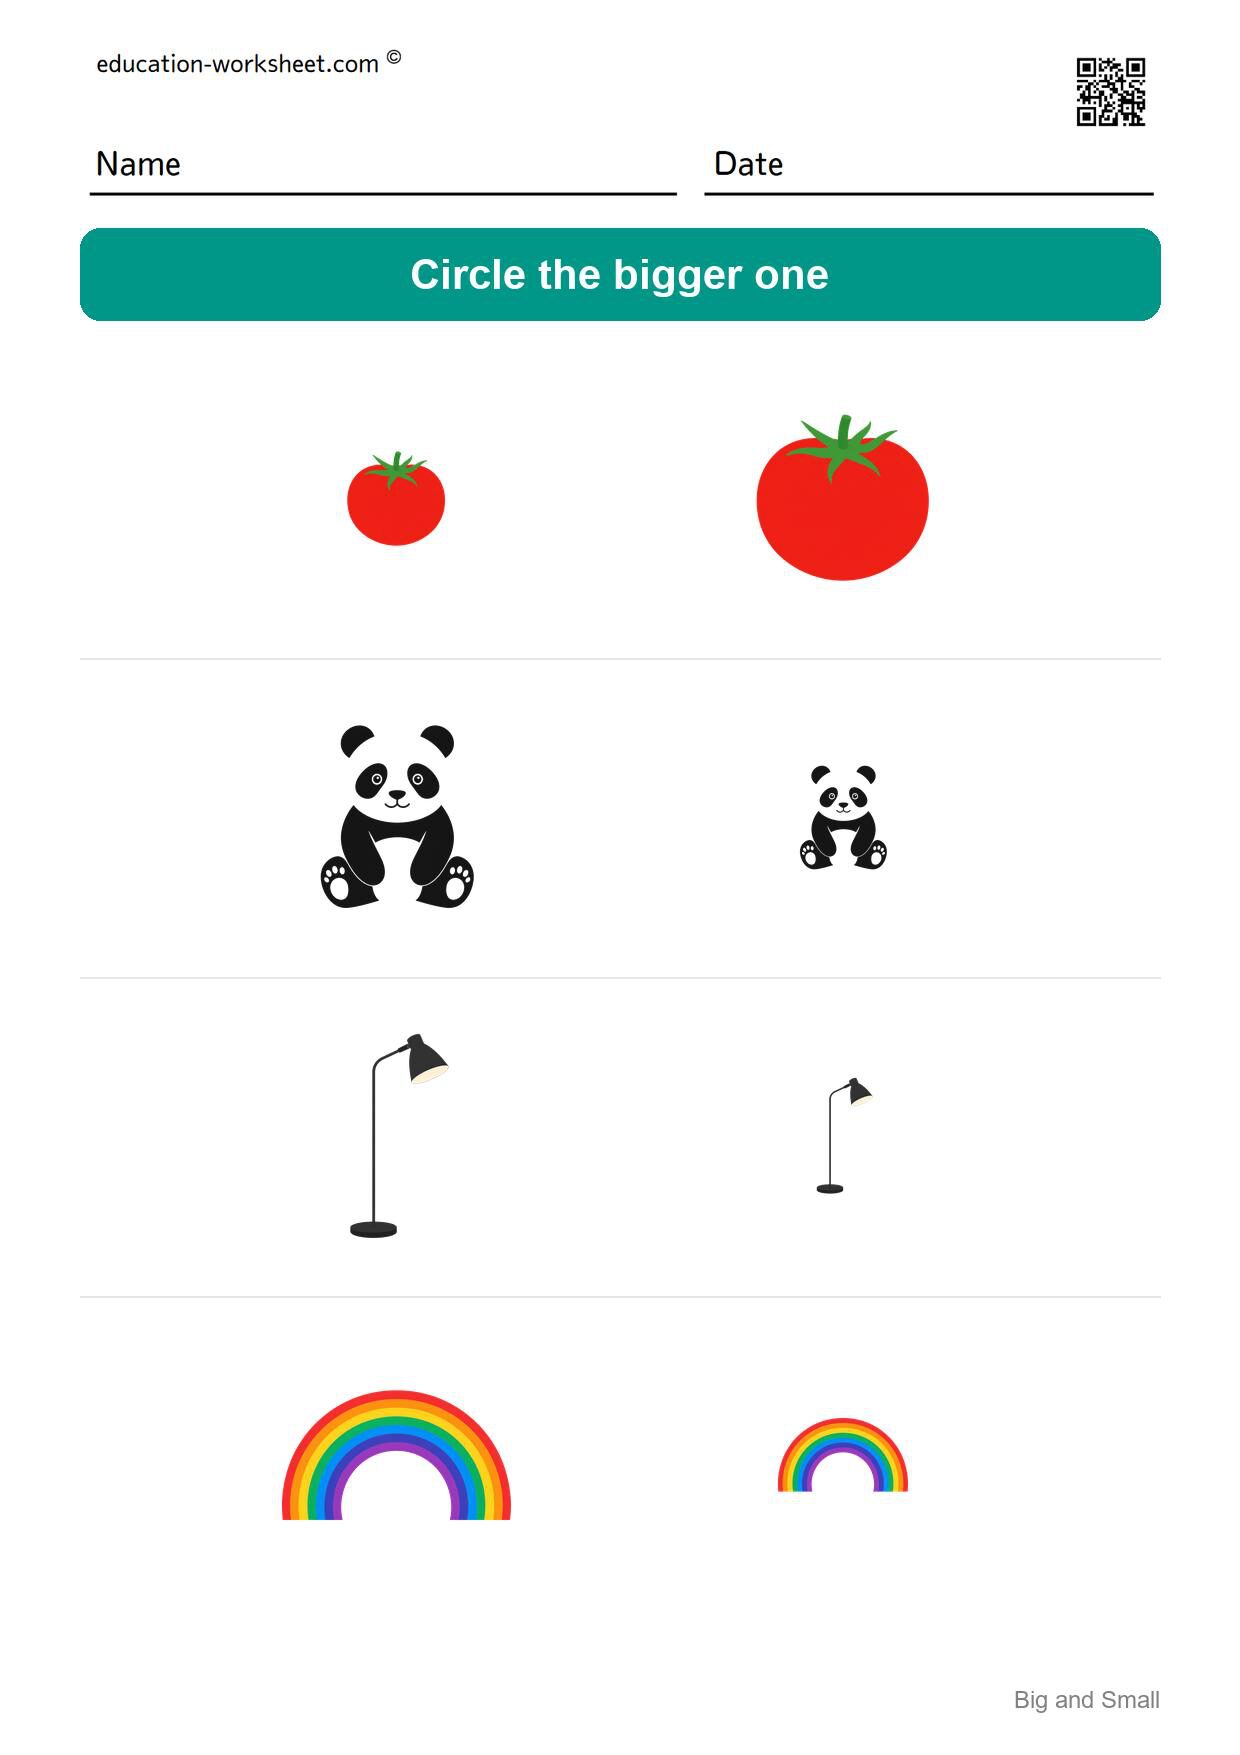
Worksheet 6 – A Gentle Smaller Page
The gap is down to about two and a half times the area. A child who is still circling the big one by reflex will be caught here, because the pictures no longer shout. The heading asks for the smaller one. Pictures: a strawberry, a train, pizza and a carrot. The larger picture averages about 2.6 times the area of the smaller one, and it is on the left in 1 of the four rows.
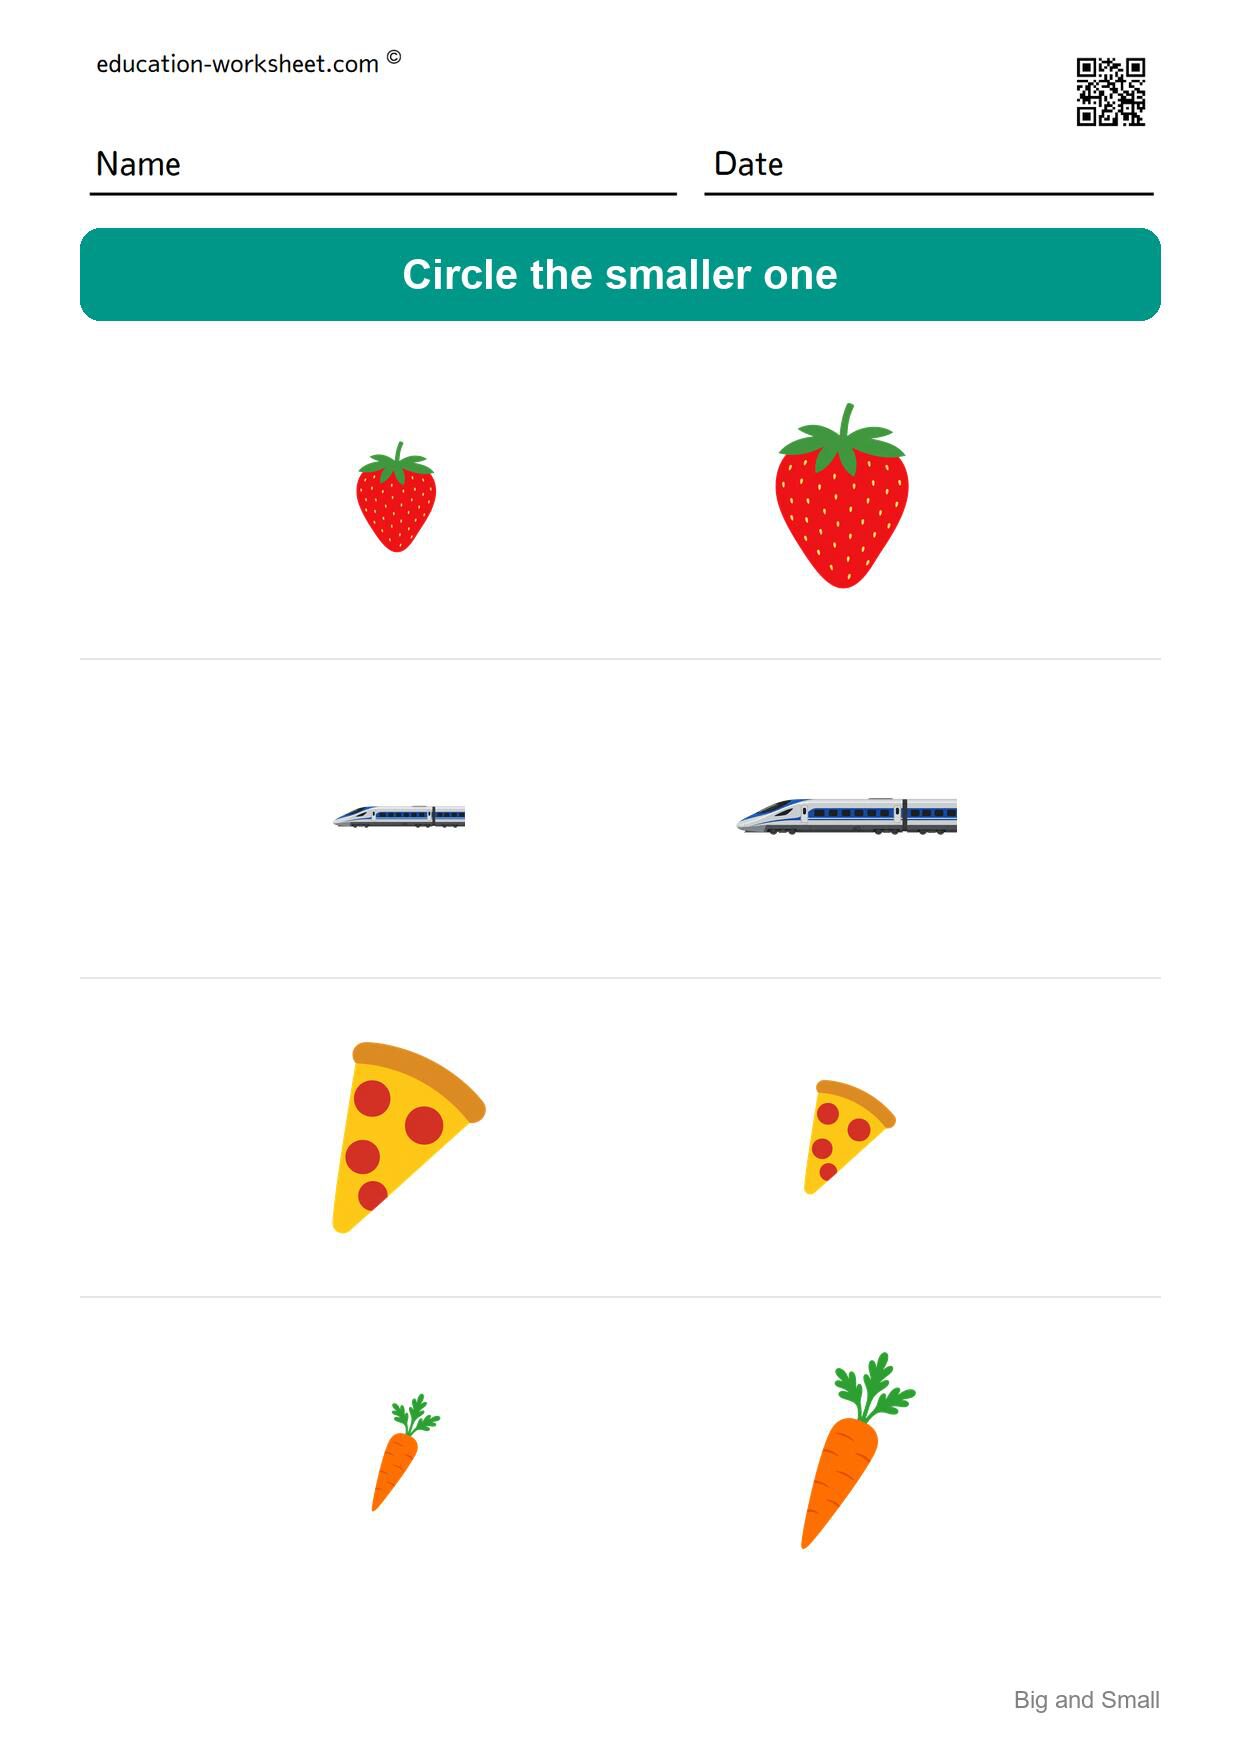
Worksheet 7 – Under Two and a Half Times
Four objects with quite different outlines, which helps: a bicycle and a guitar are easy to compare because they are long. The rounder shapes on other pages are harder. The heading asks for the bigger one. Pictures: a donut, a guitar, a bicycle and an owl. The larger picture averages about 2.4 times the area of the smaller one, and it is on the left in 3 of the four rows.
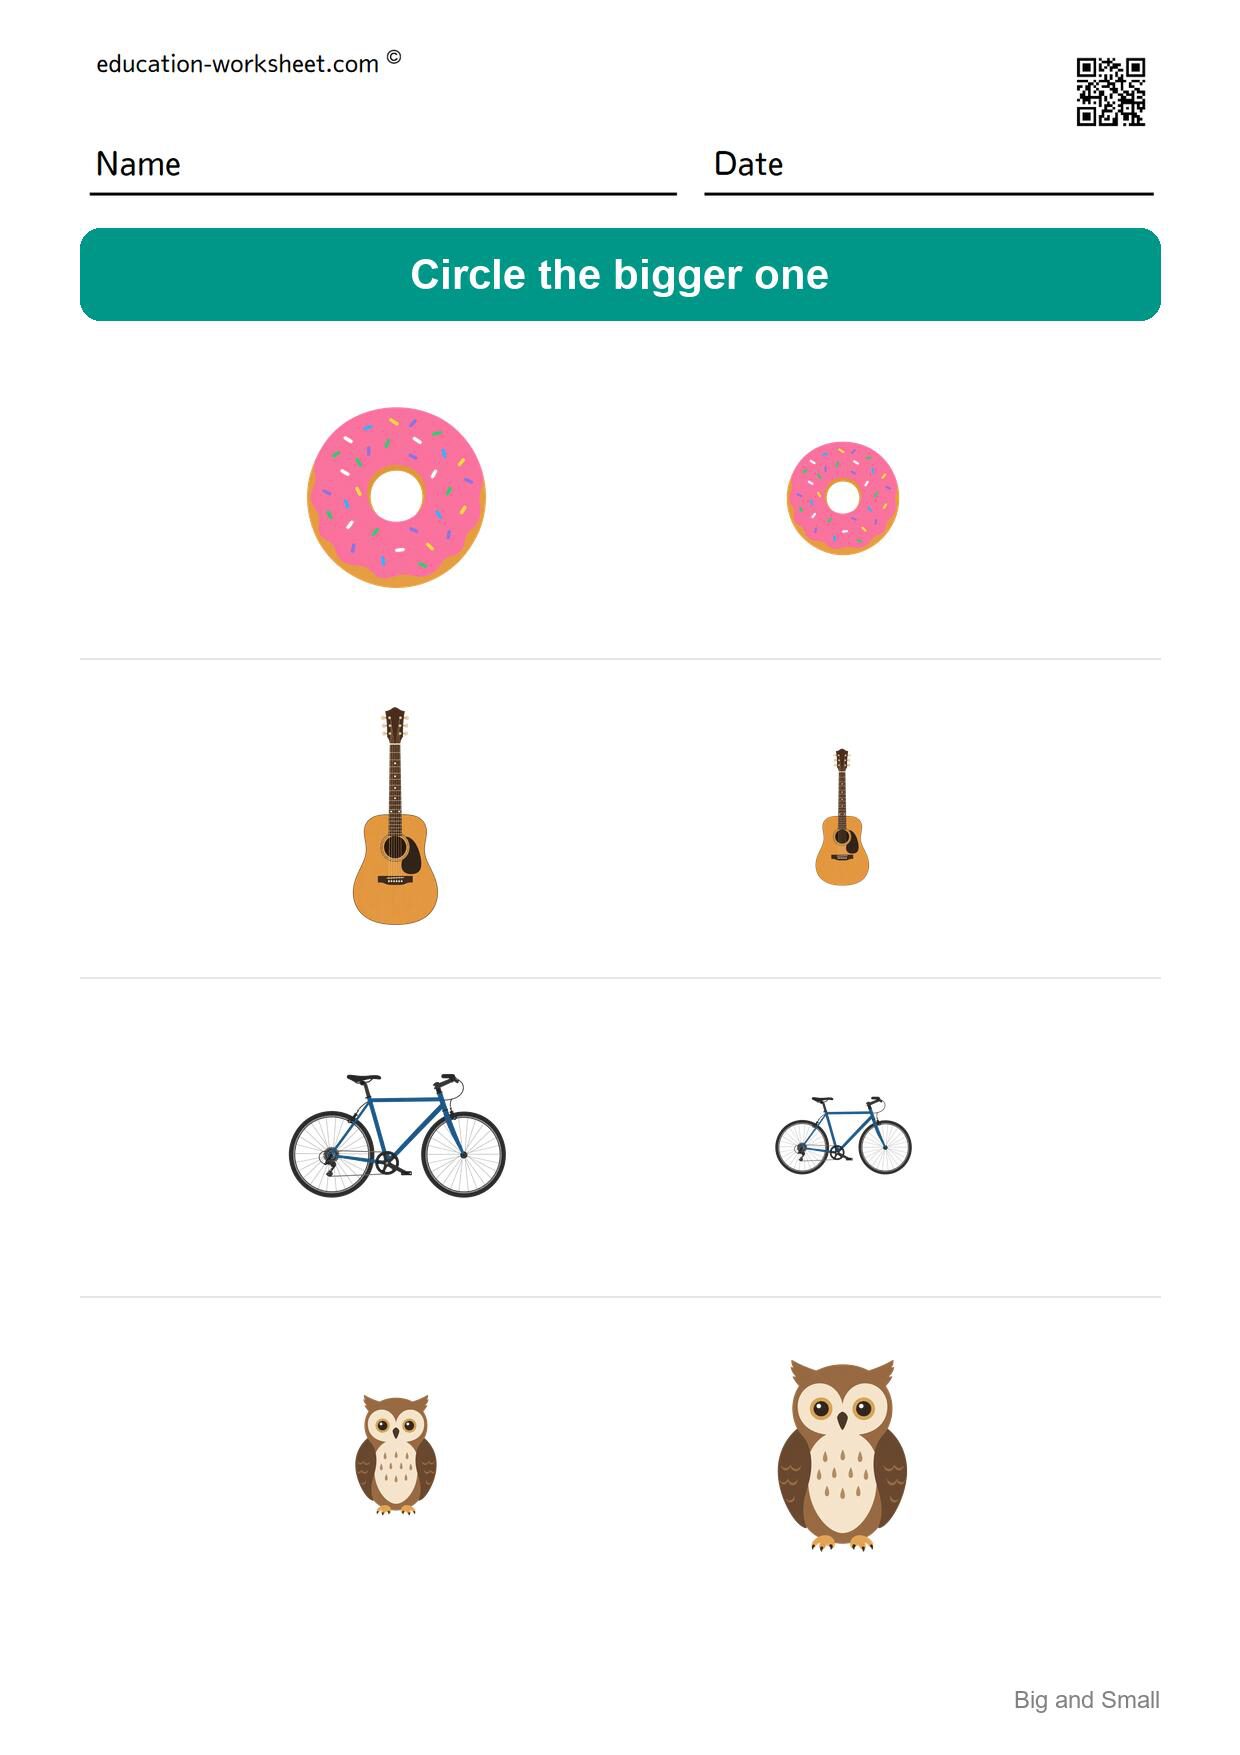
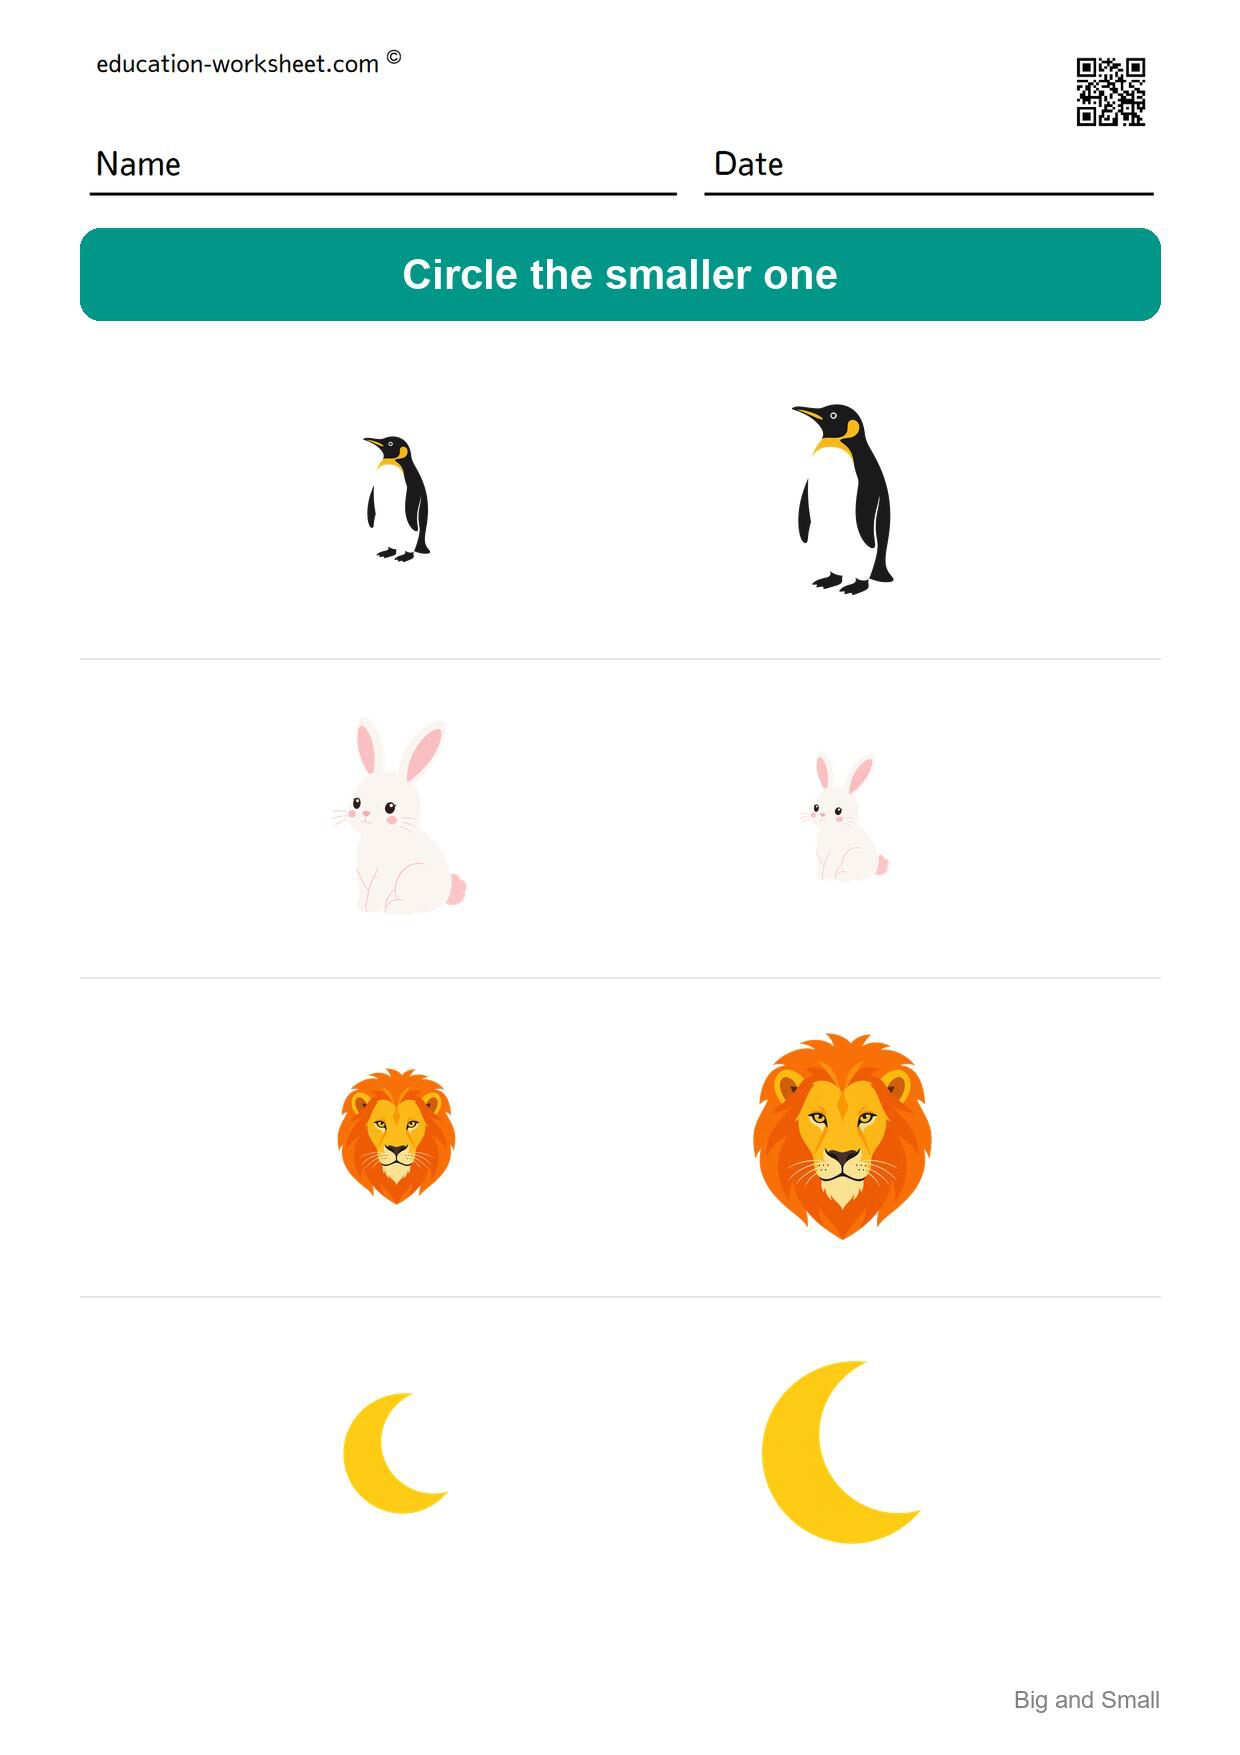
Worksheet 8 – The Same Gap, Asking the Other Way
Almost exactly the same size difference as page 7, with the opposite question. Putting the two pages side by side is the clearest way to show that the pictures have not changed, only the instruction. The heading asks for the smaller one. Pictures: a penguin, a rabbit, a lion and the moon. The larger picture averages about 2.4 times the area of the smaller one, and it is on the left in 1 of the four rows.
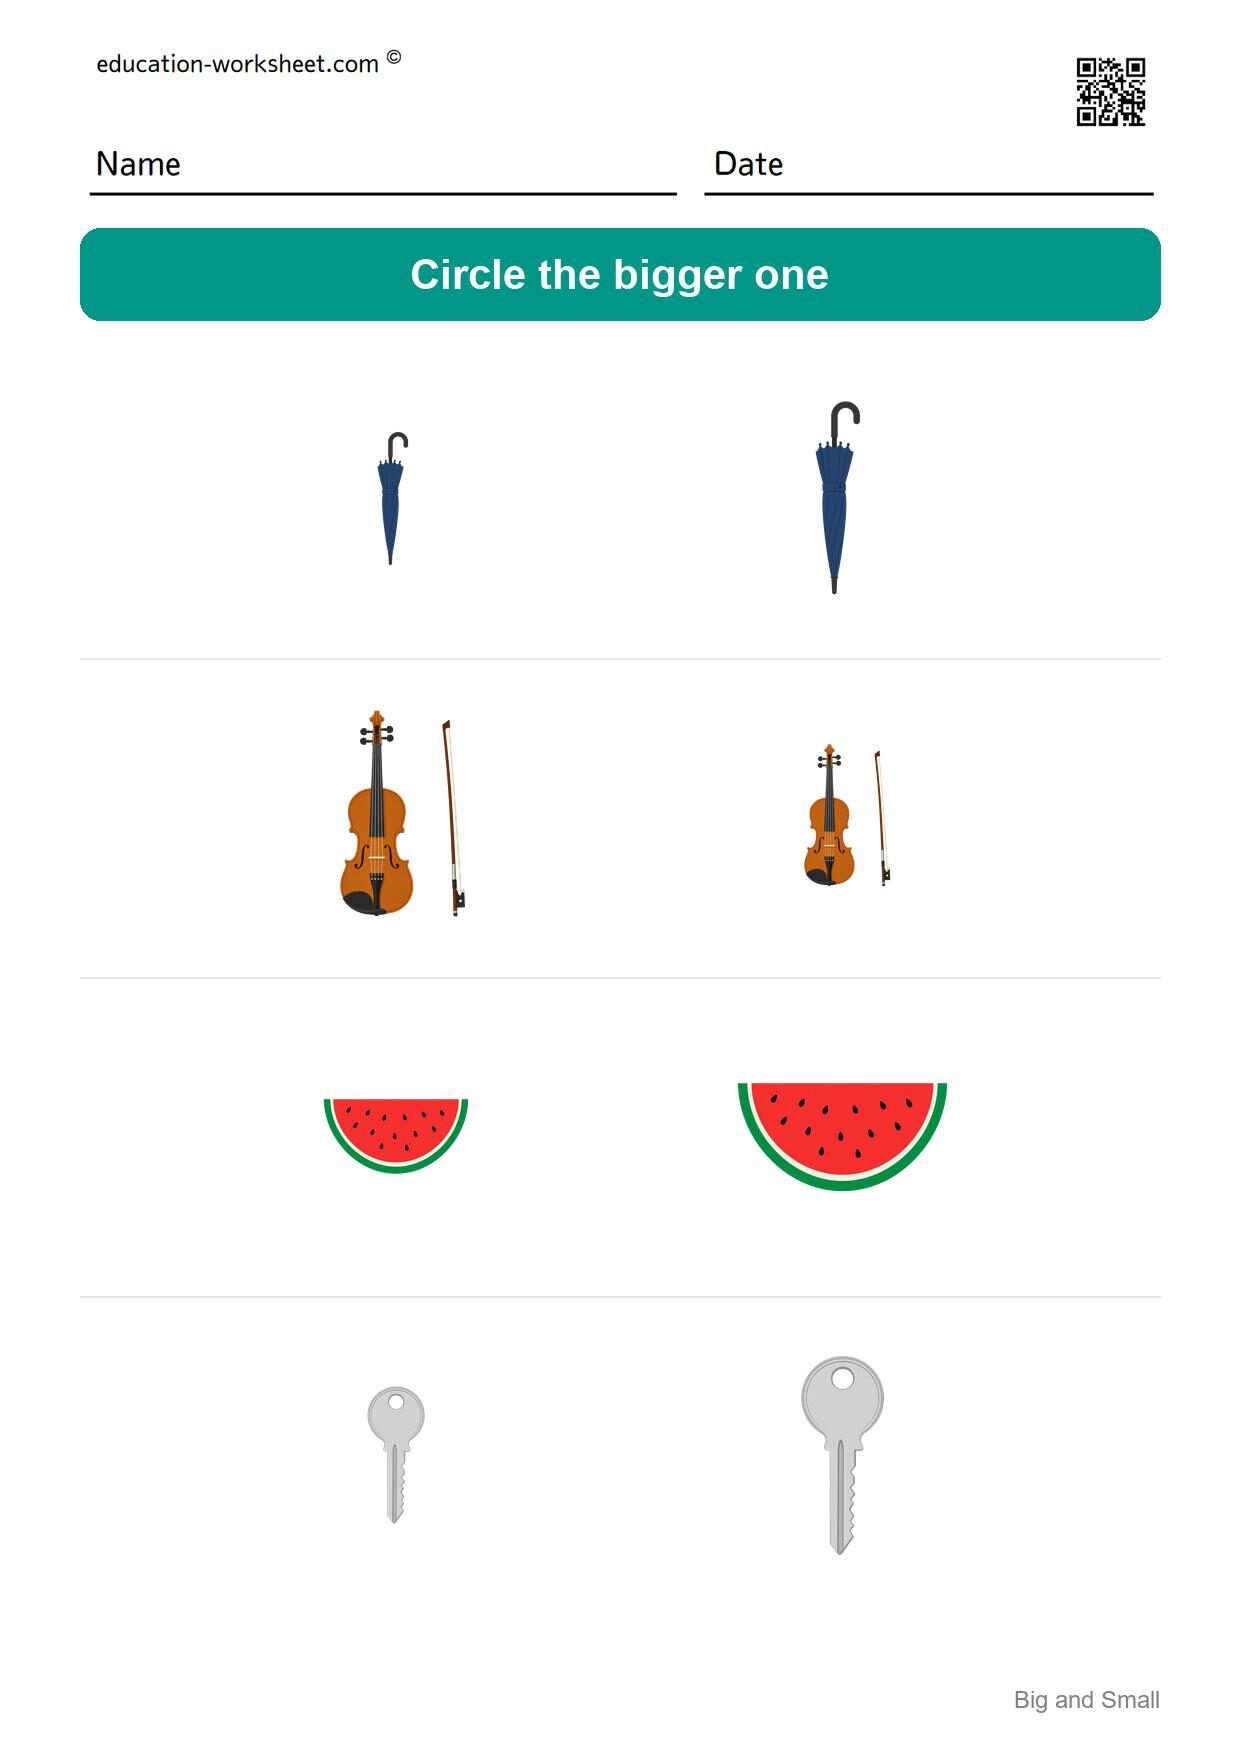
Worksheet 9 – Twice the Area, and No More
The bigger picture is now only about twice the area of the smaller one, which is about forty per cent taller. A child has to hold the two next to each other in their mind. The heading asks for the bigger one. Pictures: an umbrella, a violin, a watermelon and a key. The larger picture averages about 2.1 times the area of the smaller one, and it is on the left in 1 of the four rows.
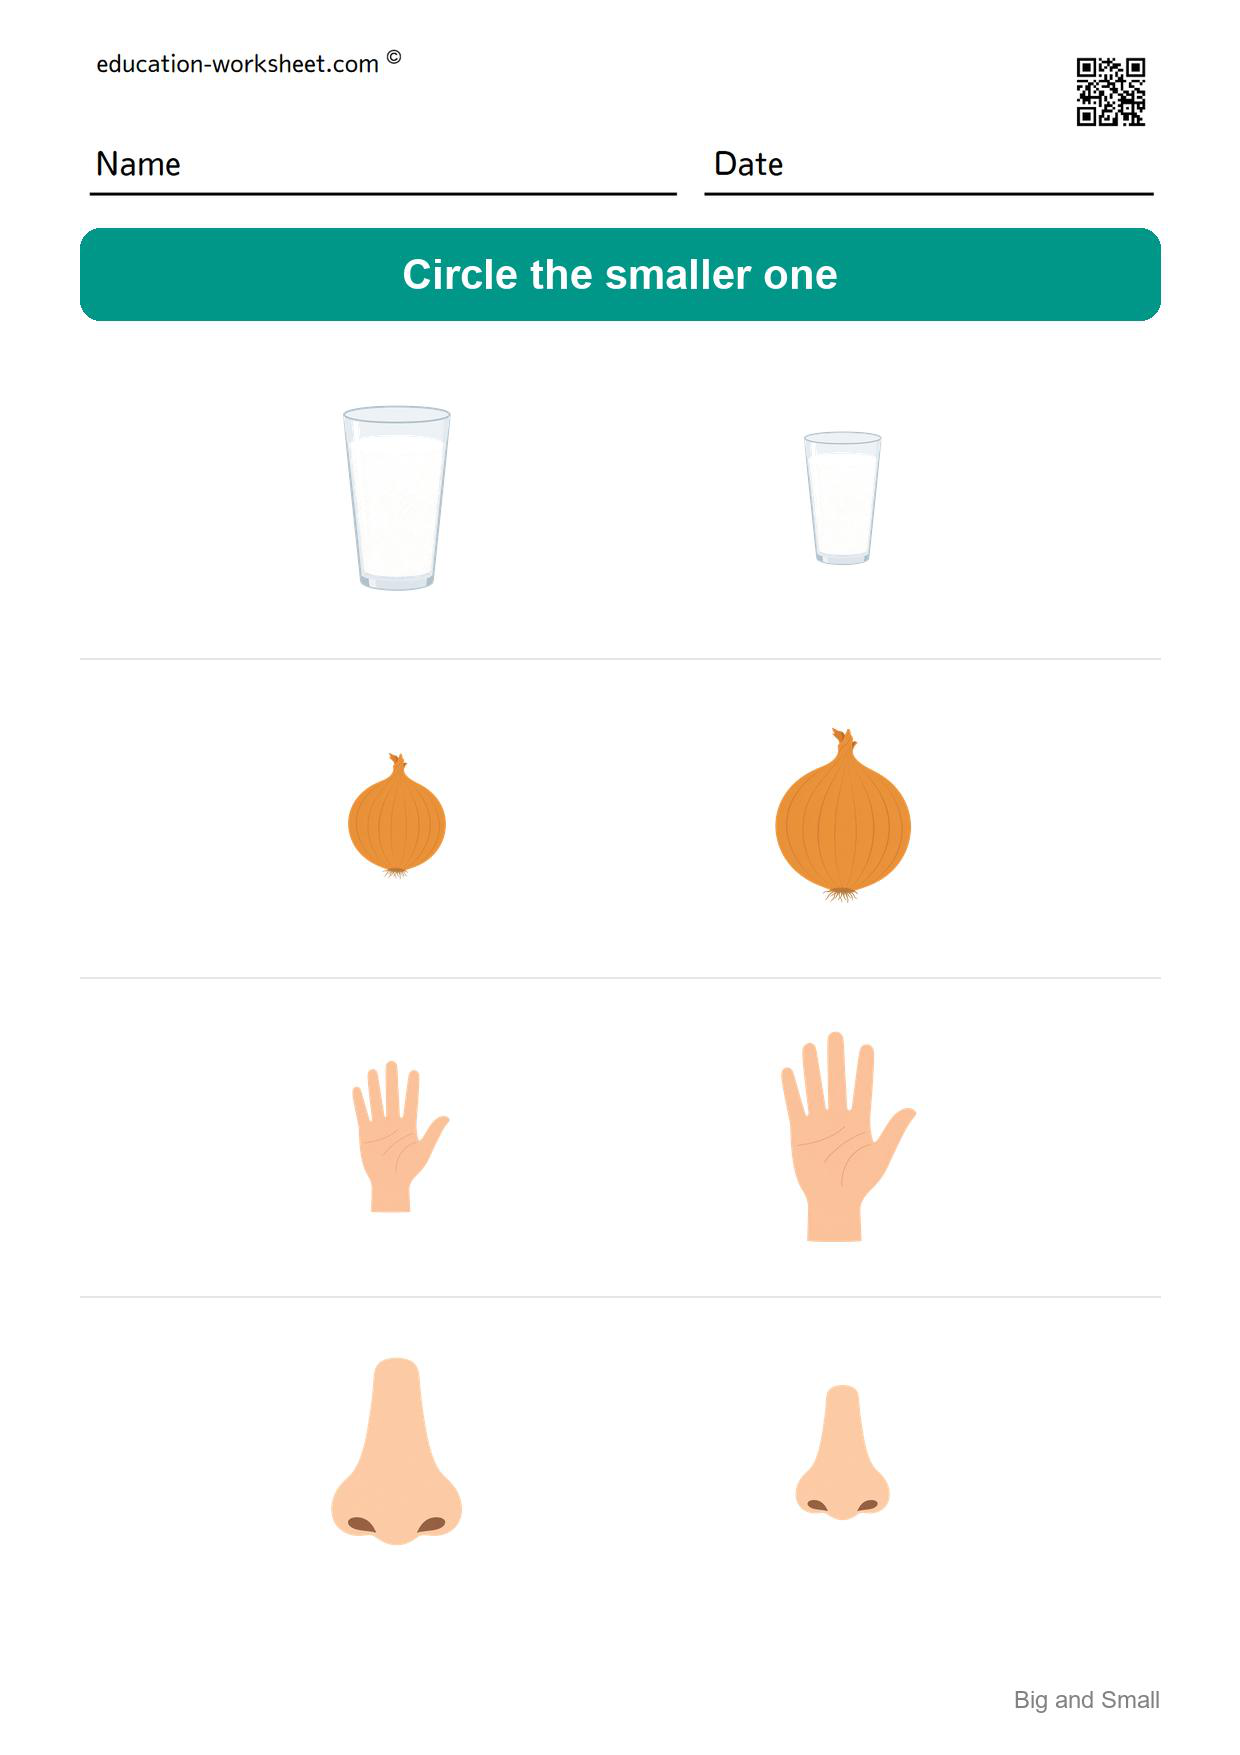
Worksheet 10 – The Closest Call: Under Twice the Area
The hardest page, and by a clear margin. The difference is down to about a third taller. Save this one for last; used early it will just look like two identical pictures. The heading asks for the smaller one. Pictures: a glass, an onion, a hand and a nose. The larger picture averages about 1.8 times the area of the smaller one, and it is on the left in 2 of the four rows.
The Pages Get Harder, and Nothing on Them Says So
Measure every pair in the pack and a straight line appears. On page 1 the larger picture has about four and a half times the area of the smaller one. By page 5 it is about three times. By page 10 it is under twice, which on the page means roughly a third taller rather than twice as tall.
That is a real progression and it is worth knowing about, because nothing printed on the sheets mentions it. A parent who prints page 10 first will watch a four year old fail at something they would have found easy on page 2, and conclude the child cannot compare sizes. They can; the page was simply the last one in a graded set.
The other half of the design is the heading. Five pages ask for the bigger one and five ask for the smaller, strictly alternating. A child who works through in order has to reset every single page. Page 2 is the important one: it is the first reversal, it comes immediately after the easiest page in the pack, and almost every child circles at least one big elephant on it.
Which side the big one sits on is shuffled properly, too. Across the forty rows it is on the left nineteen times and on the right twenty-one, and no page has all four on the same side. There is no position to learn.
When Children Are Ready for These Worksheets
These pages suit children from about three to five. There is nothing to read or count, so they work as soon as a child can hold a pencil and understands the words big and small. The later pages stay useful well into kindergarten because the comparison gets genuinely finer.
They sit on K.MD.A.1, describing measurable attributes of objects, and K.MD.A.2, directly comparing two objects that share an attribute to see which has more of it. Directly comparing is the phrase that matters: the two pictures are side by side, so nothing has to be measured or remembered.
How to Use These Worksheets
- Start with page 1 or 2, not with a page you liked the look of. The order is the difficulty.
- Read the heading out loud together every time, and point at the word bigger or smaller. This is the whole exercise on the even pages.
- Ask which one before any circling happens. Deciding and marking are separate jobs.
- Say it back as a sentence: “this dog is bigger than that dog”. The comparing word is what is being learned, not the circle.
- Stop when the page stops being easy. Pages 9 and 10 are for later.
Three Things to Watch For
Circling the big one on a smaller page
Not a size error at all, and not carelessness either. The child has answered the question they expected rather than the one printed. Cover the pictures, read the heading, then uncover. Page 2 is where this happens.
Guessing on the last two pages
On page 10 the difference is about a third. If your child hesitates, hold a finger at the top of each picture in turn, or fold the paper so the two sit edge to edge. That is direct comparison, and it is the skill the standard is actually asking for.
Saying “big” instead of “bigger”
A common and easily fixed habit. Neither picture is big or small on its own; each is only bigger or smaller than the other. Supplying the comparative word every time you speak is enough, without correcting the child directly.
Printing Tips
- Choose Actual size or Fit to page in the print dialog – both keep the page in proportion.
- Each page fills one sheet and works on US Letter and A4 paper.
- Ordinary copier paper is fine. Card is only worth it if you want the page to survive an eraser.
- Do not shrink these pages. Printing two to a sheet halves the size difference as well, and on pages 9 and 10 that turns a fair question into a guess.
- Grayscale is fine. The pictures are clear in outline and the comparison is about size, not color.
Frequently Asked Questions
What age are these big and small worksheets for?
About three to five years old: preschool, pre-K and the start of kindergarten. The last two pages stay useful longer.
Do the pages get harder?
Yes, and noticeably so. The size difference shrinks from about four and a half times the area on page 1 to under twice on page 10. Work through in order.
Why does the instruction keep changing?
Because knowing which is bigger is only half the task. The other half is reading what has been asked, and that is what the alternating heading tests.
Which page should we start with?
Page 1, then page 2. Page 2 is the first time the question flips, and it is the most useful page in the pack for that reason.
Is there an answer key?
None is needed. Both pictures are on the page and the answer is visible, which is the point of direct comparison.
Do I need to sign up to download these?
No. Every PDF downloads immediately, with no account, no email address and no cost.
Can I use these in my classroom?
Yes, they are free to print for home and classroom use. Please do not sell them or re-host the files elsewhere.
More Free Comparing Worksheets
- Free Measuring Length Worksheets for Kindergarten – How Many Cubes Long?
- Free Size Ordering Worksheets for Kindergarten – Smallest to Biggest
- Free Tall and Short Worksheets for Kindergarten – Compare Heights
- Free Long and Short Worksheets for Kindergarten – Compare Lengths
- Free Heavy and Light Worksheets for Kindergarten – Compare Weight
- Free Same Shape Worksheets for Kindergarten – Match Shapes of Any Size