These free printable wide and narrow worksheets give preschool and kindergarten children twelve pages of practice comparing how much something measures from side to side. A teaching page introduces the two words, ten worksheets build from two choices up to three, and an answer key at the end lets an adult mark the whole pack in under a minute.
Every picture in a row is drawn at exactly the same height on purpose. Children who are new to comparing size tend to answer “the big one” to any question about size at all, and keeping the height fixed forces them to look at width and nothing else. That single design choice is what makes these sheets different from a general size comparison pack.
- What Is in This Free Wide and Narrow Worksheet Pack
- Start With the Teaching Page
- The 10 Wide and Narrow Practice Worksheets
- Worksheet 1 – Circle the Wider One
- Worksheet 2 – Circle the Narrower One
- Worksheet 3 – Circle the Widest One
- Worksheet 4 – Circle the Wider One
- Worksheet 5 – Circle the Narrower One
- Worksheet 6 – Circle the Narrowest One
- Worksheet 7 – Circle the Wider One
- Worksheet 8 – Circle the Narrower One
- Worksheet 9 – Circle the Widest One
- Worksheet 10 – Circle the Narrowest One
- Answer Key for All 10 Pages
- Wide, Wider, Widest: the Words Behind the Worksheets
- When Children Are Ready for These Worksheets
- How to Use These Worksheets
- Three Things Children Get Wrong Here
- Printing Tips
- Frequently Asked Questions
- More Free Comparing and Measuring Worksheets
What Is in This Free Wide and Narrow Worksheet Pack
- One teaching page that shows a wide door and a narrow door side by side.
- Four wider and narrower worksheets with two pictures in each row.
- Four widest and narrowest worksheets with three pictures in each row.
- Two more mixed pages so the words are not always asked in the same order.
- A full answer key covering all ten practice pages.
- Twelve separate PDFs – print only the pages you need, with no sign-up and no email address.
Start With the Teaching Page
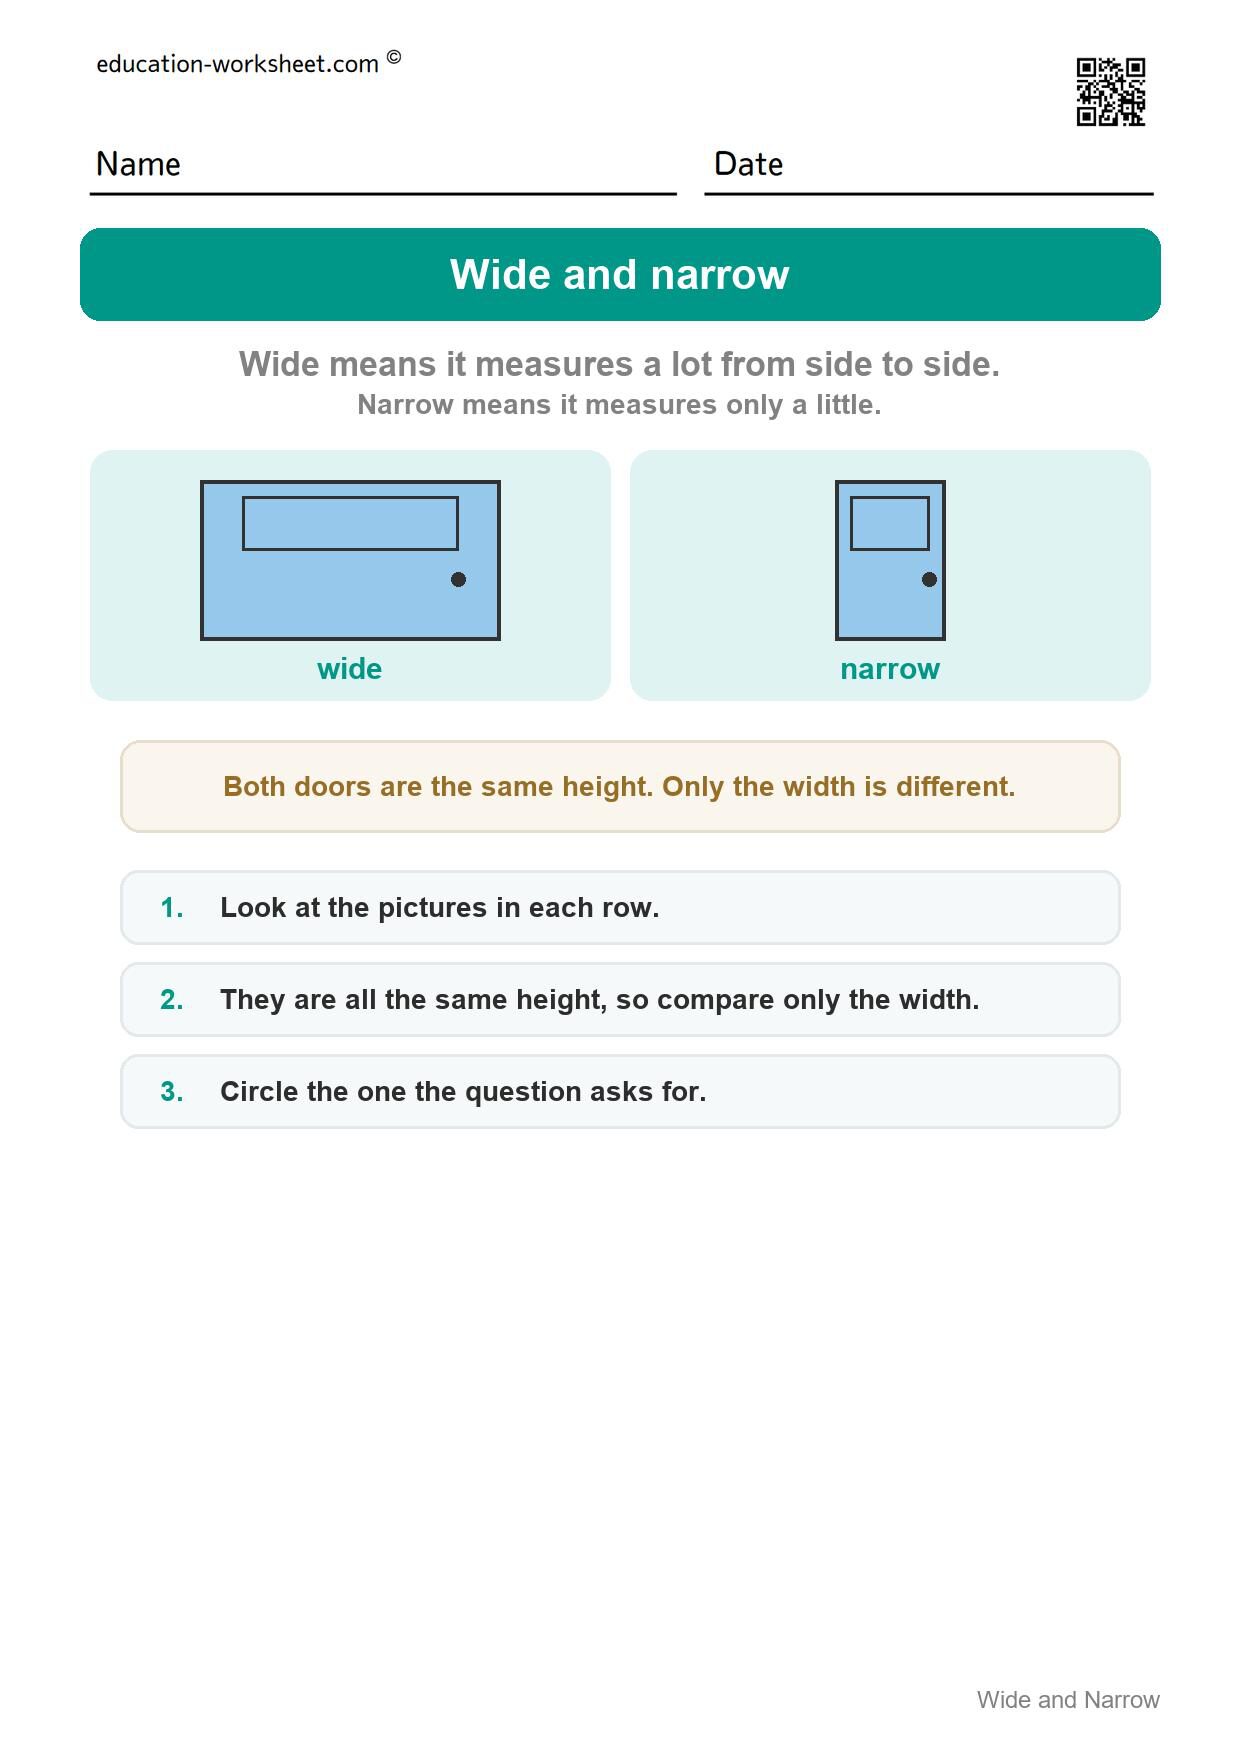
Before any circling, print this page. It gives the two words in plain language – wide means it measures a lot from side to side, narrow means it measures only a little – and shows them on a pair of doors that are the same height. A short reminder underneath tells the child to compare only the width, which is the instruction that does most of the work in this pack.
The 10 Wide and Narrow Practice Worksheets
The pages below are in order of difficulty. Pages 1 to 2 and 4 to 5 and 7 to 8 use two pictures per row; pages 3, 6, 9 and 10 use three and switch to the -est ending. One page in a sitting is enough for most five year olds.
Worksheet 1 – Circle the Wider One
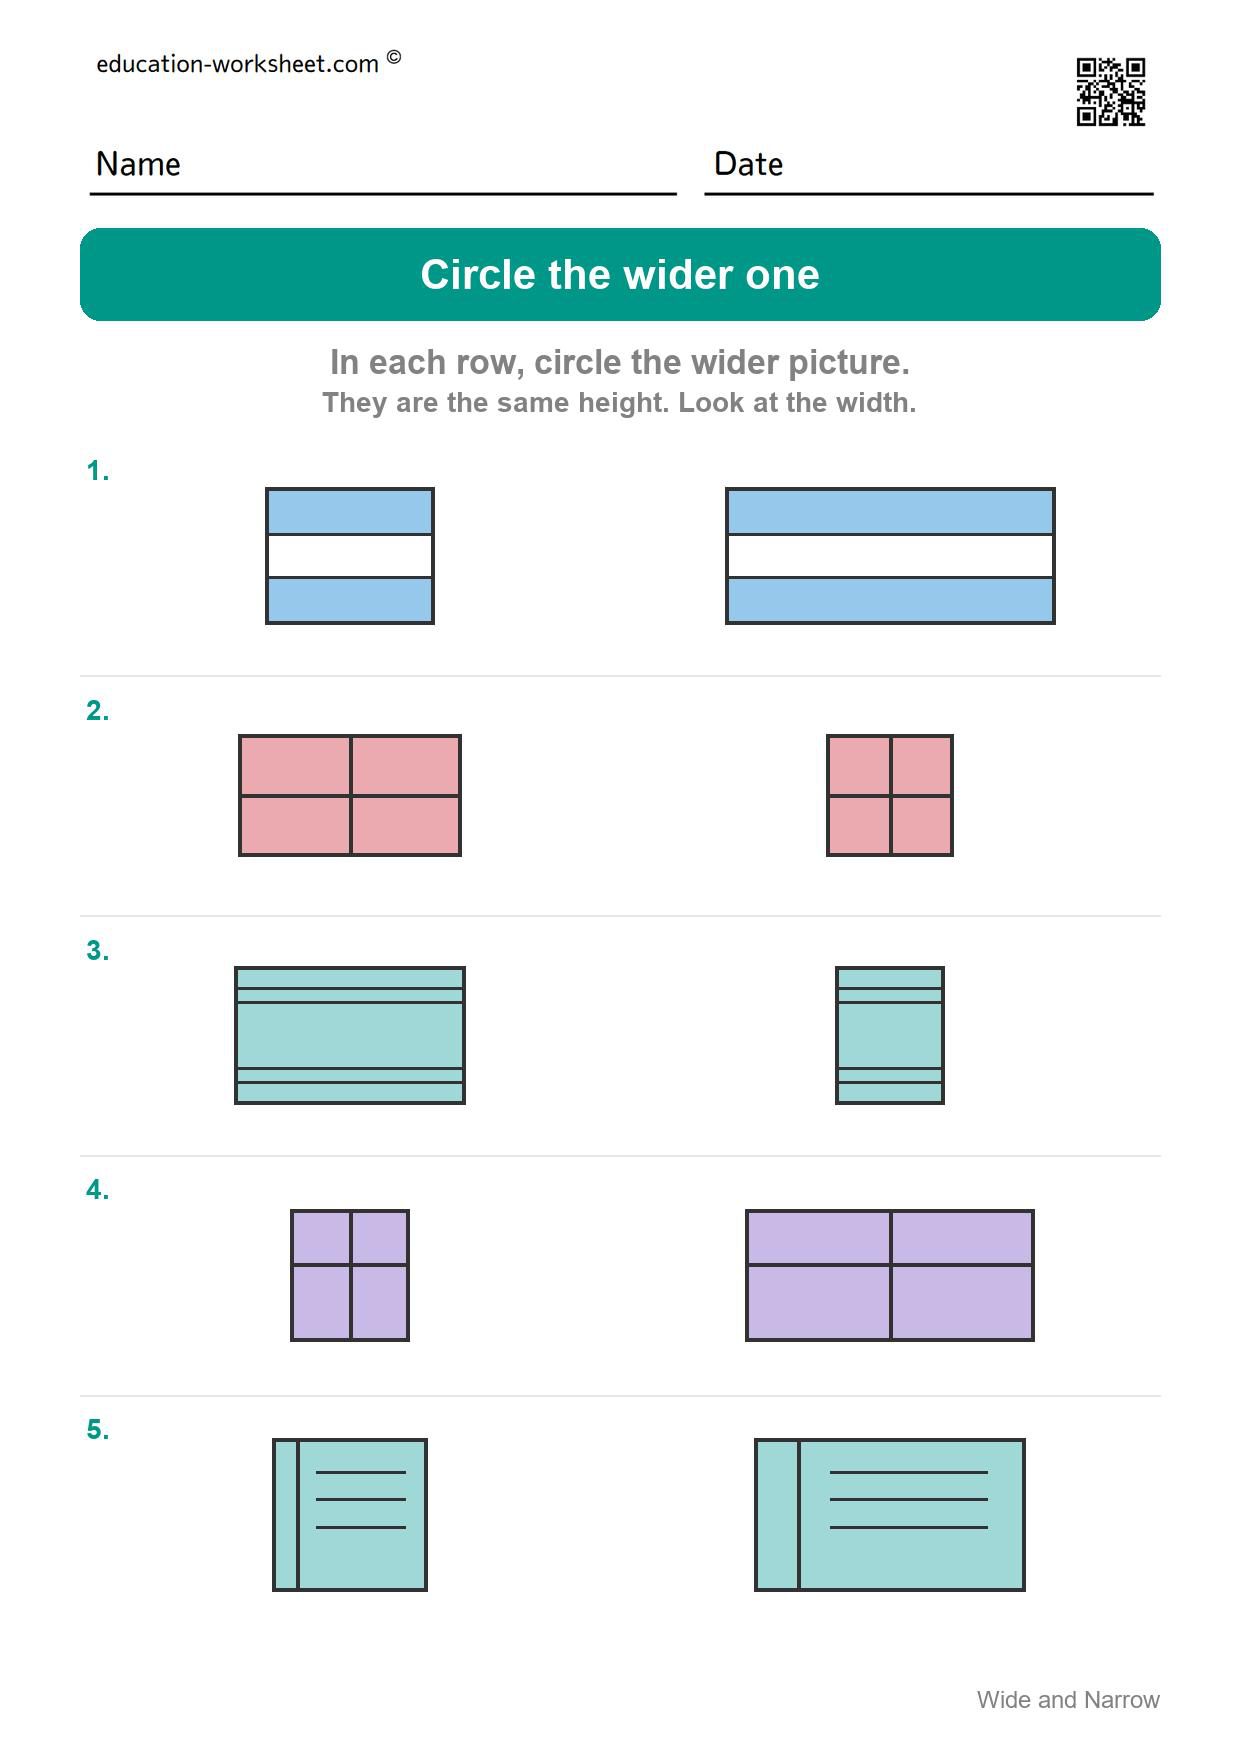
The first practice page asks for the wider of two pictures, five times. Both pictures in a row are exactly the same height, so there is only one thing left to compare. Start here even if your child already knows the words. 5 rows, 2 pictures in each row.
Worksheet 2 – Circle the Narrower One
The same format, but now the question is reversed. This page matters more than it looks: children who have simply learned to circle the bigger picture will get every row wrong here, which tells you straight away whether they are reading the question. 5 rows, 2 pictures in each row.
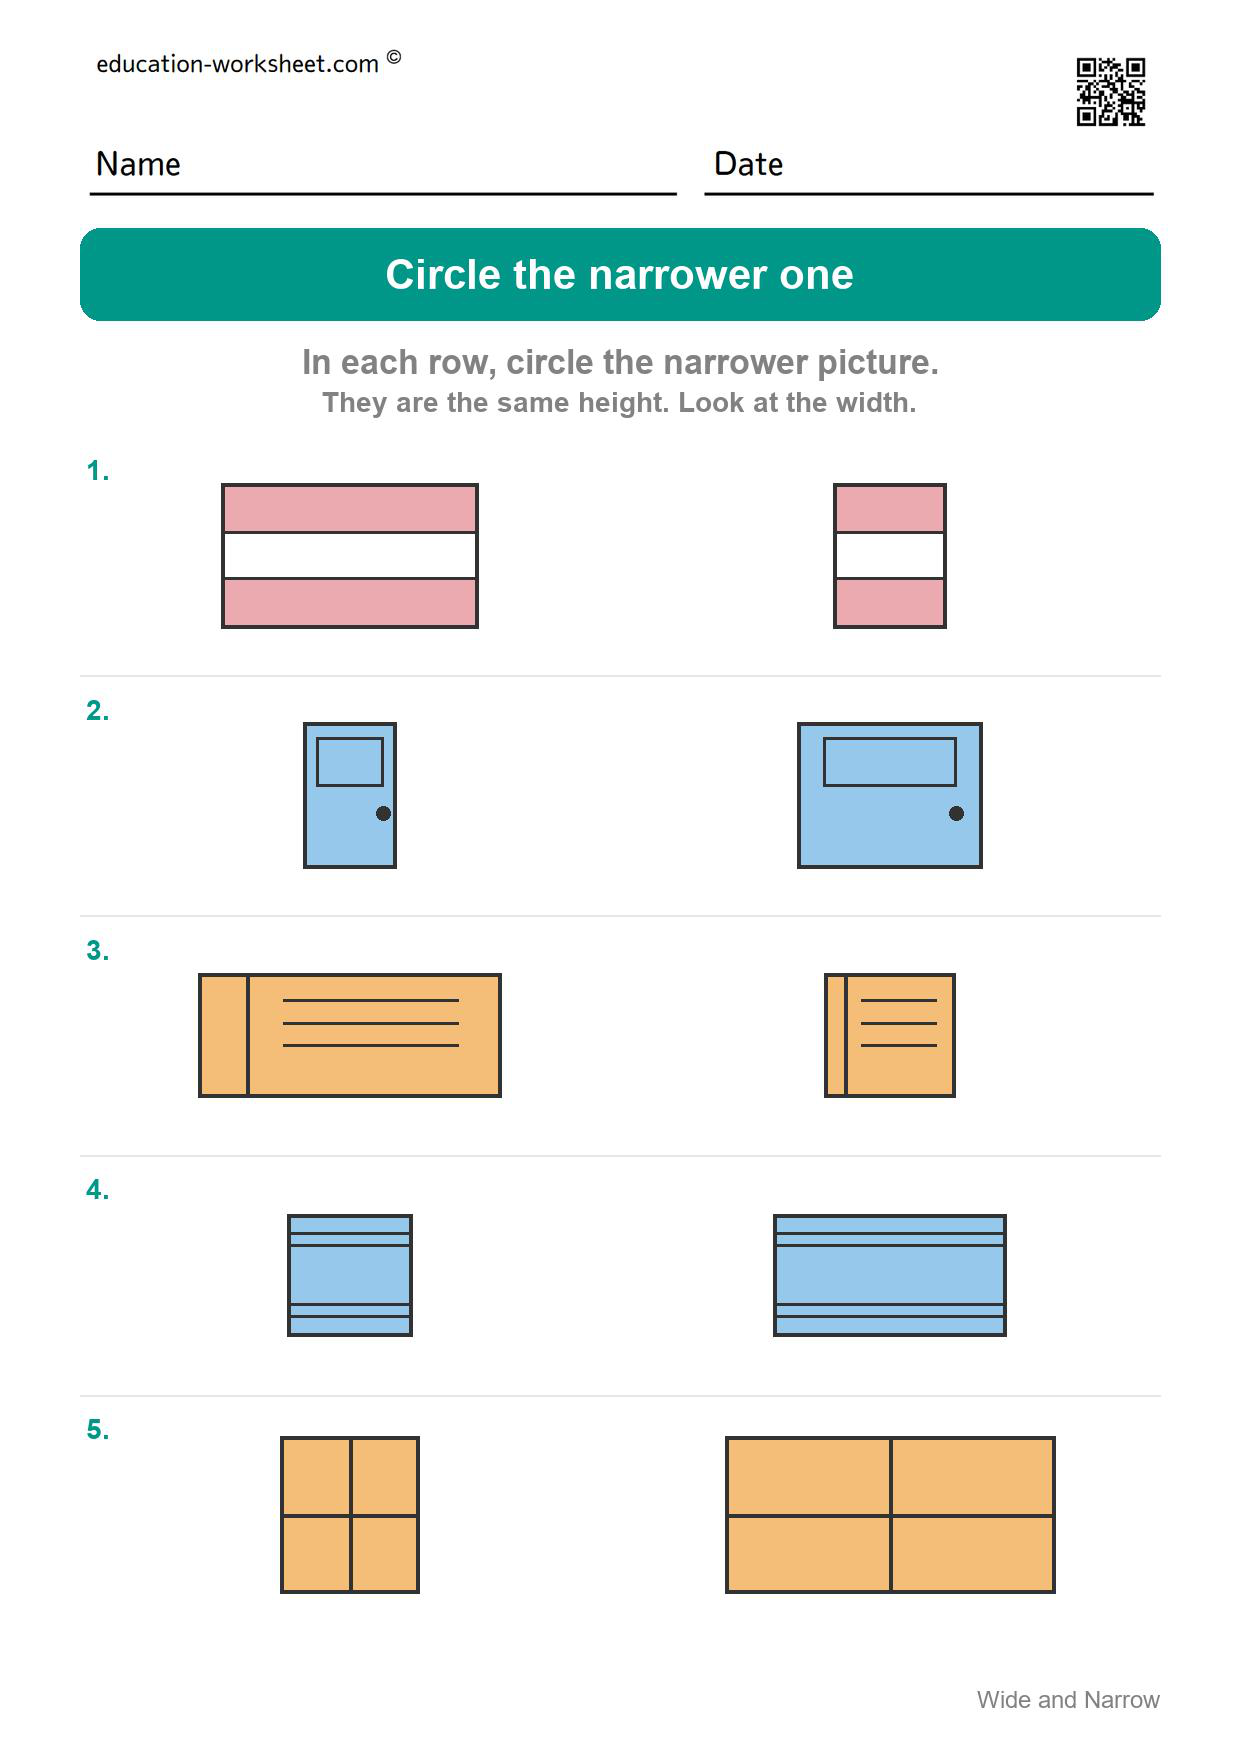
Worksheet 3 – Circle the Widest One
Three pictures in each row instead of two, and the word changes from wider to widest. Comparing three things at once is a real jump – a child has to hold one picture in mind while checking the next two. 4 rows, 3 pictures in each row.
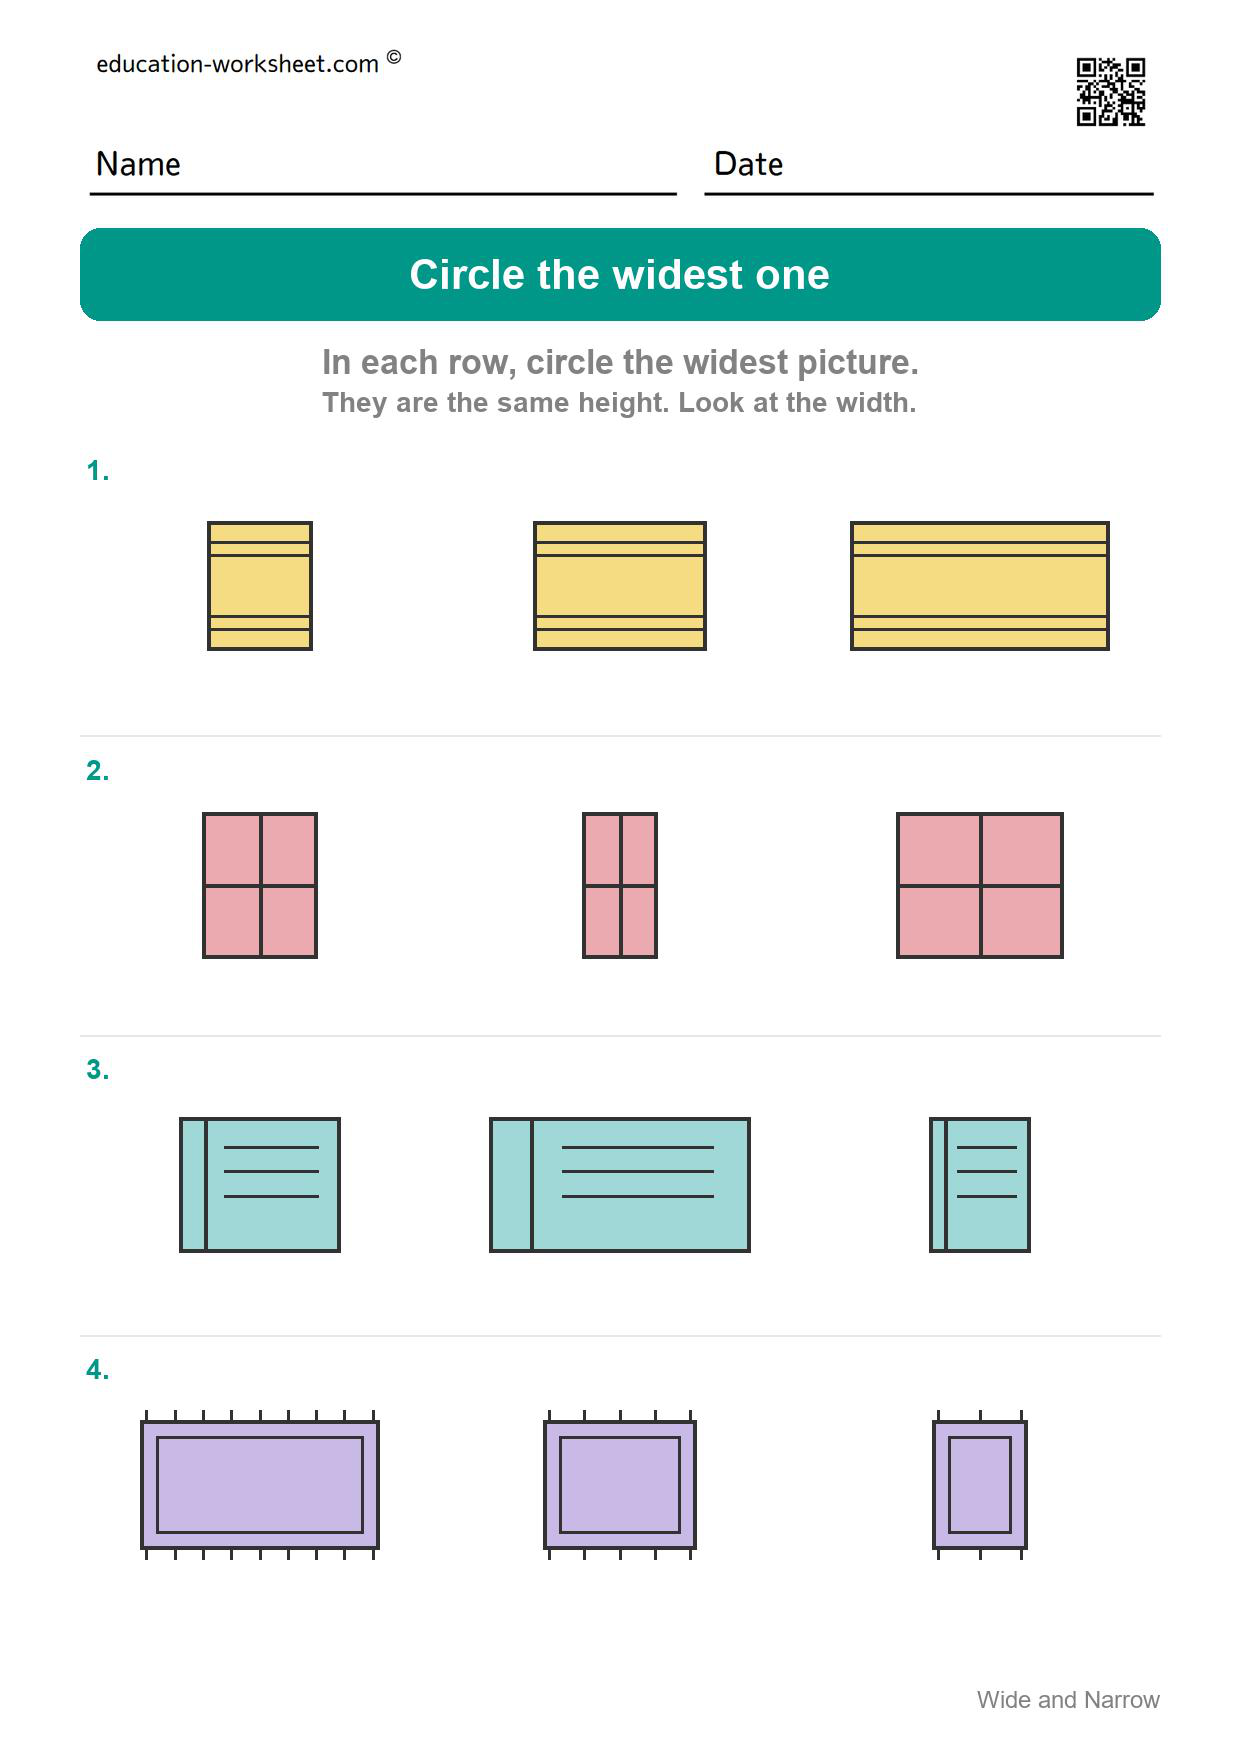
Worksheet 4 – Circle the Wider One
Back to two pictures, but the difference in width is smaller than on page 1. When the gap narrows, guessing stops working and children start to look properly. 5 rows, 2 pictures in each row.
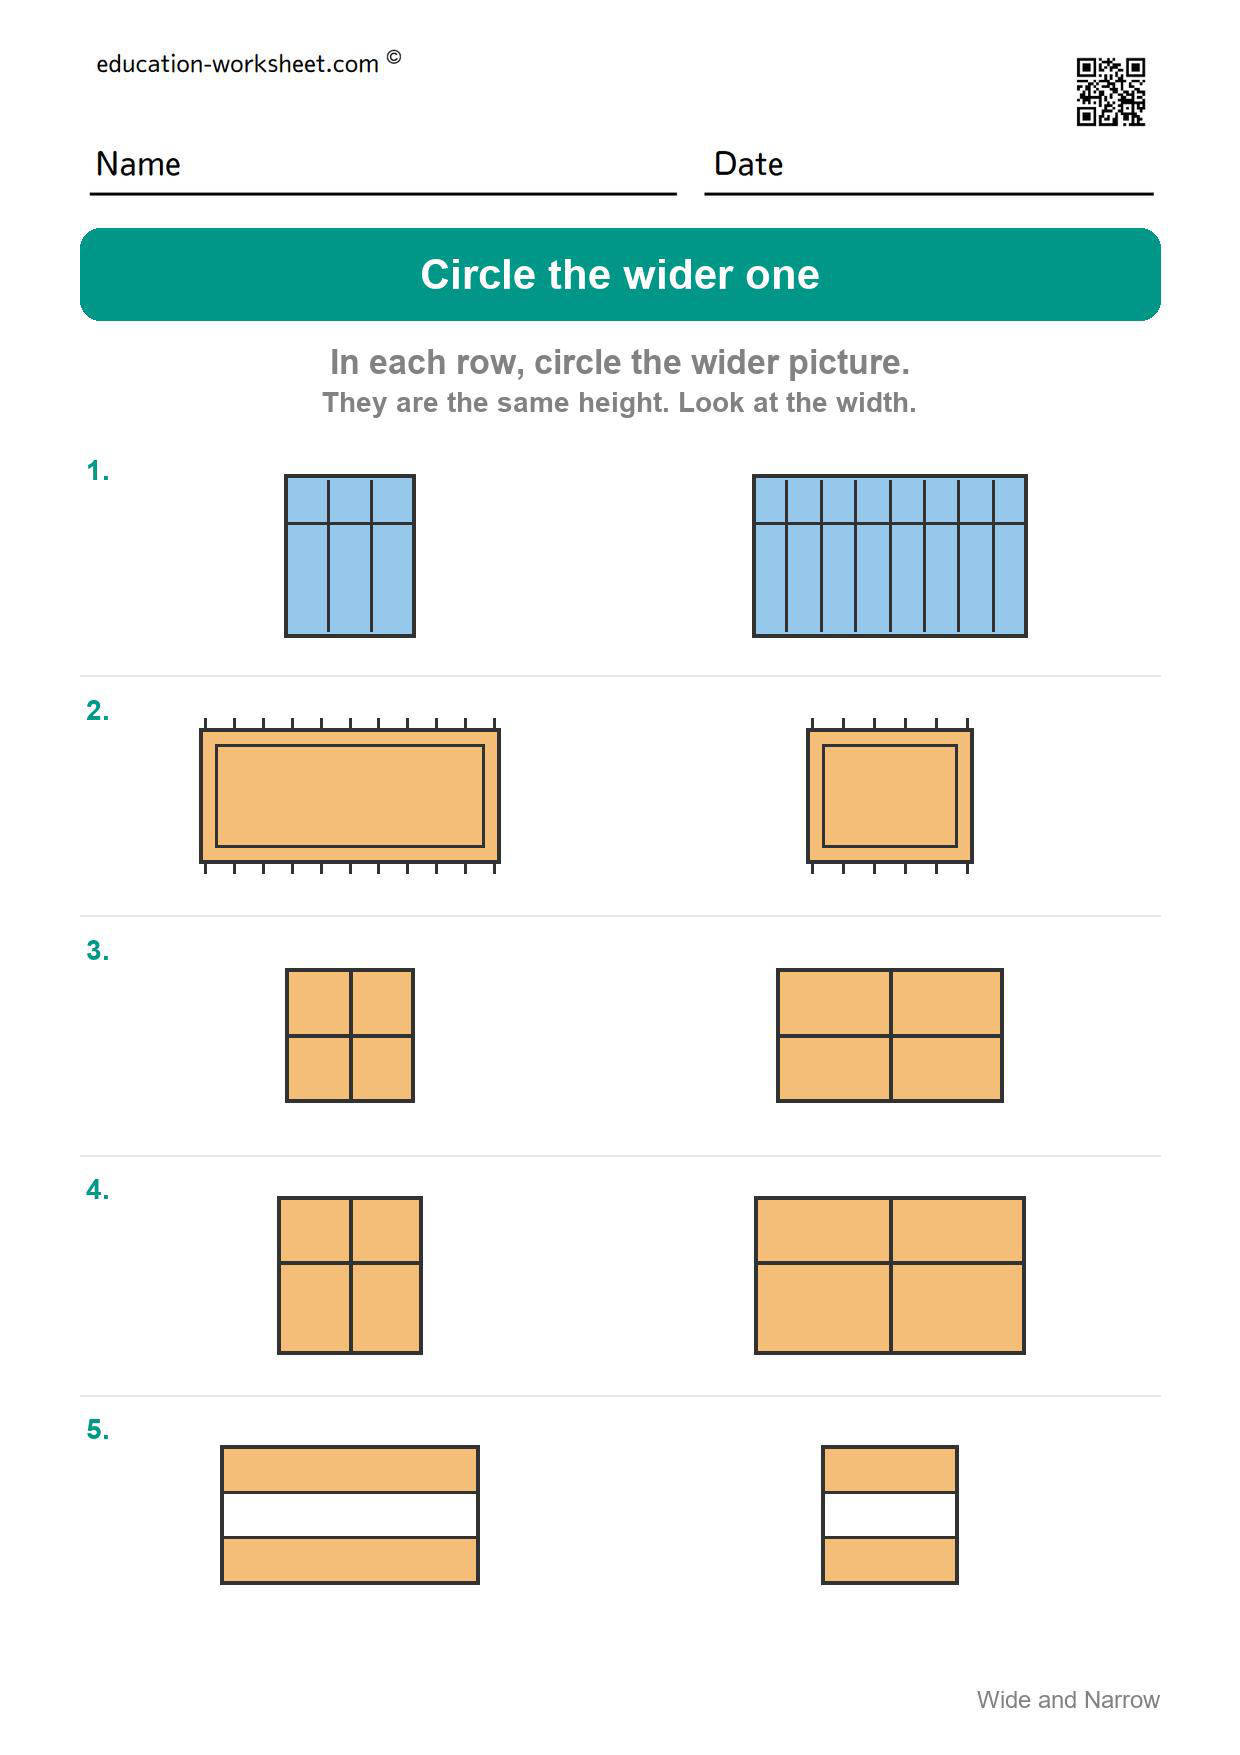
Worksheet 5 – Circle the Narrower One
Narrower again, with closer pairs. If your child hesitates, let them hold a finger or a pencil against each picture to compare – using a tool to measure is a skill worth encouraging, not a shortcut. 5 rows, 2 pictures in each row.
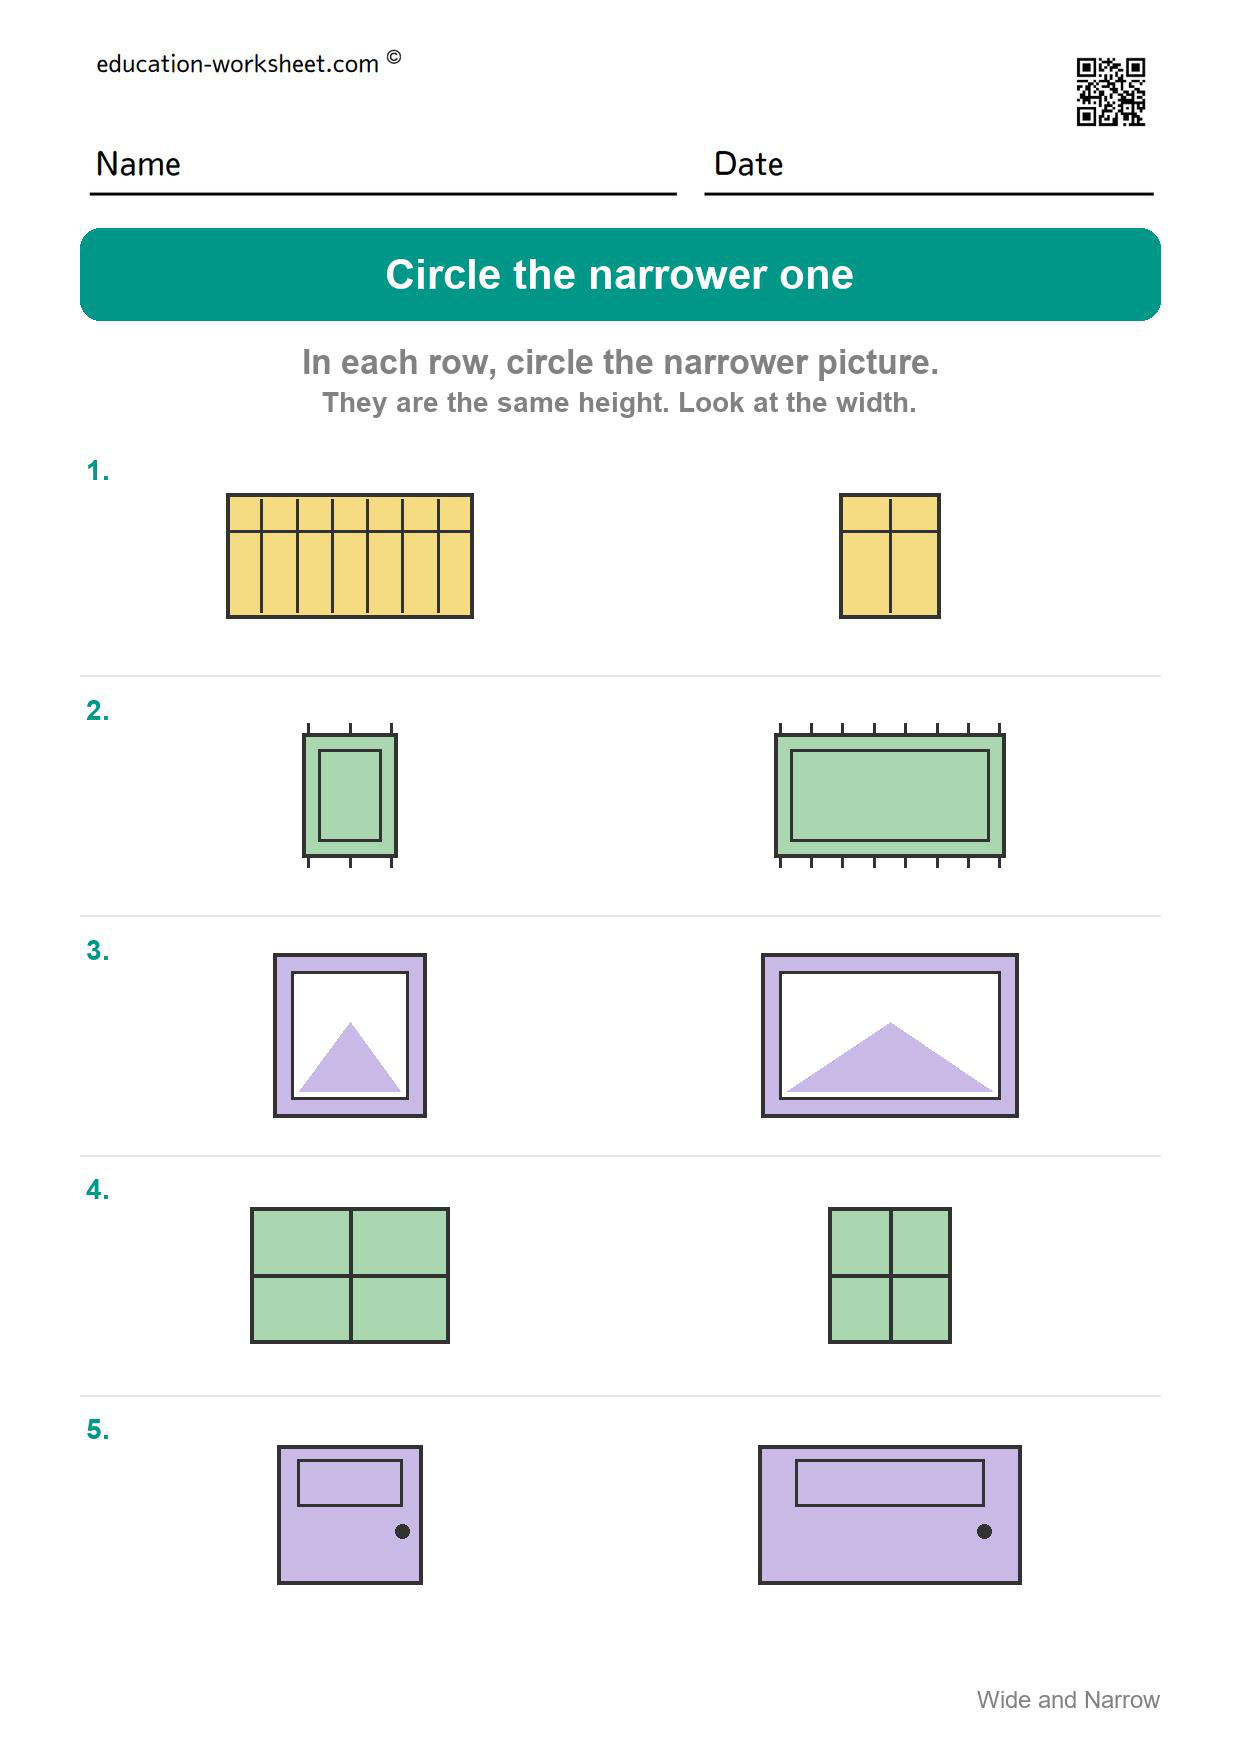
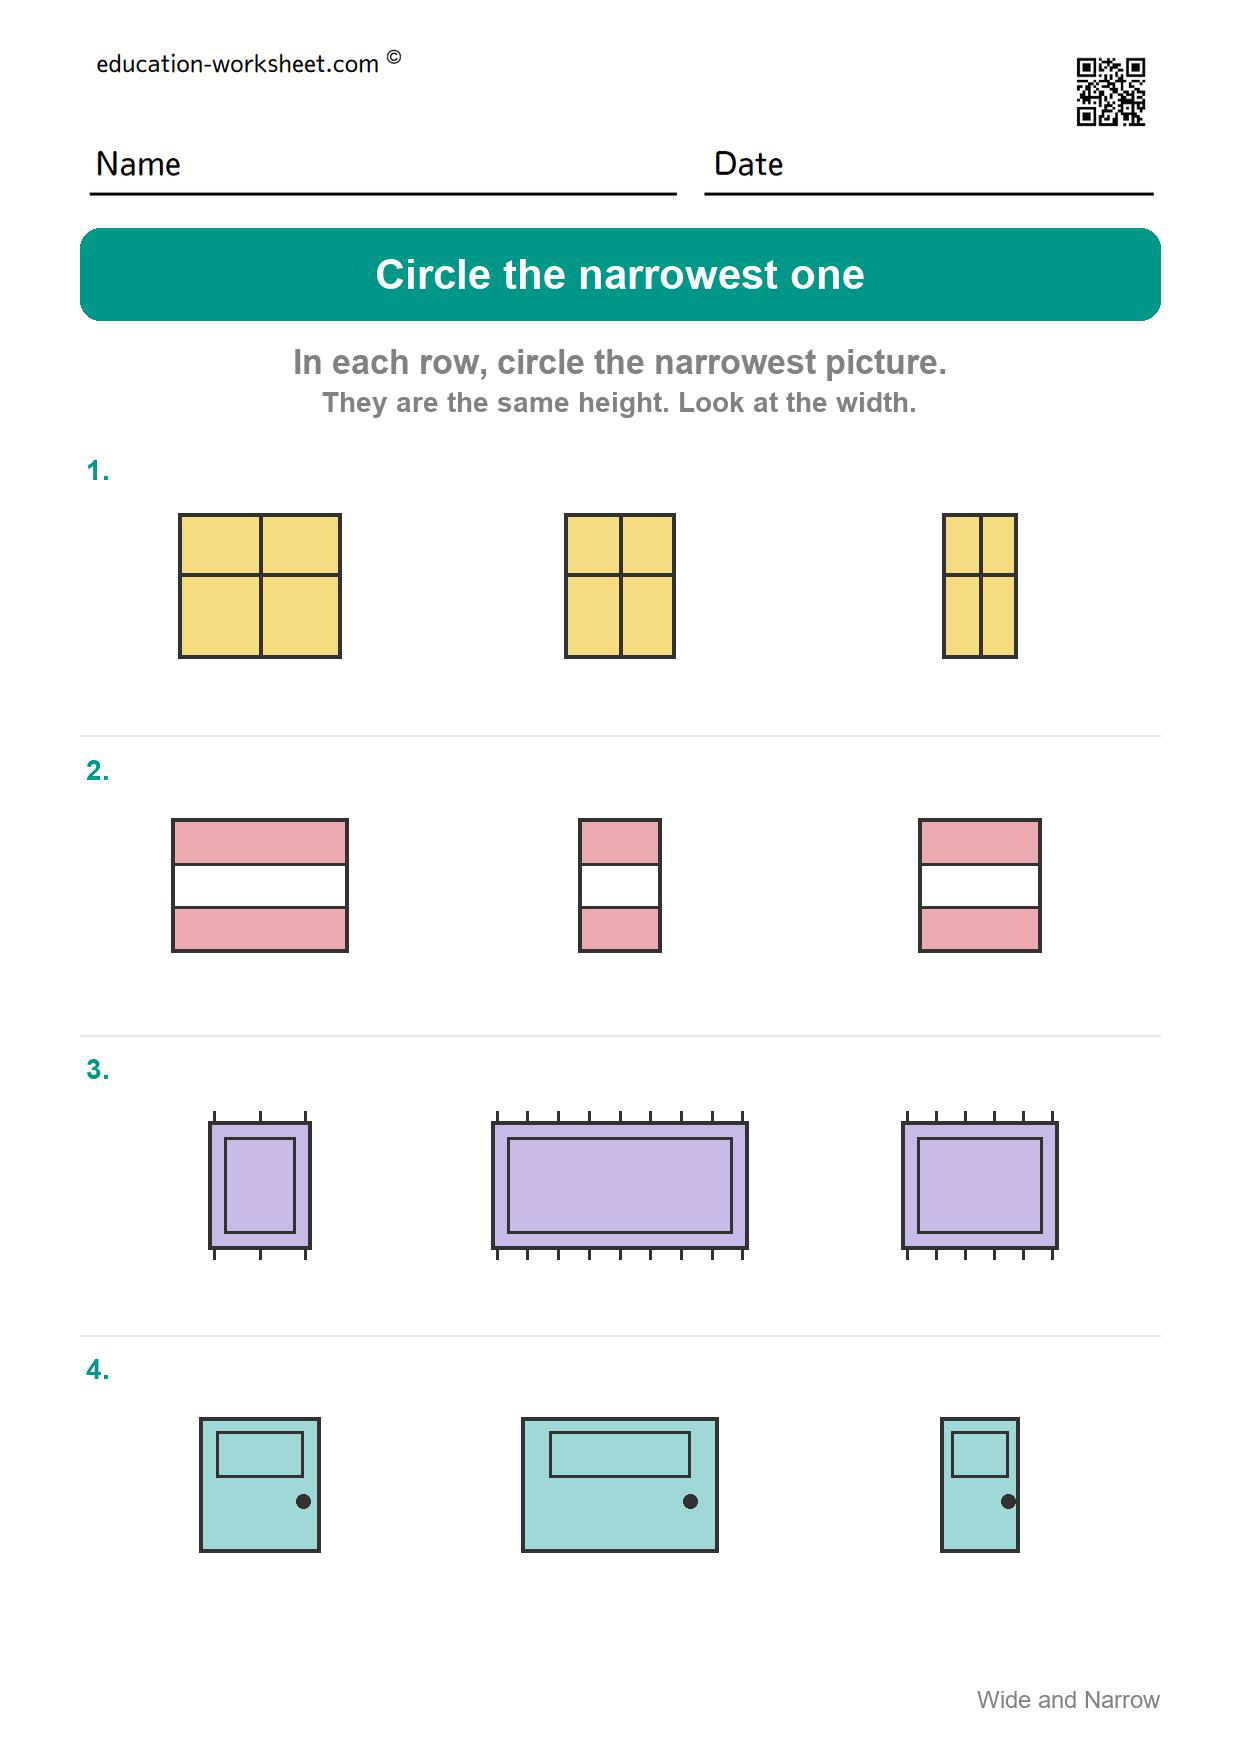
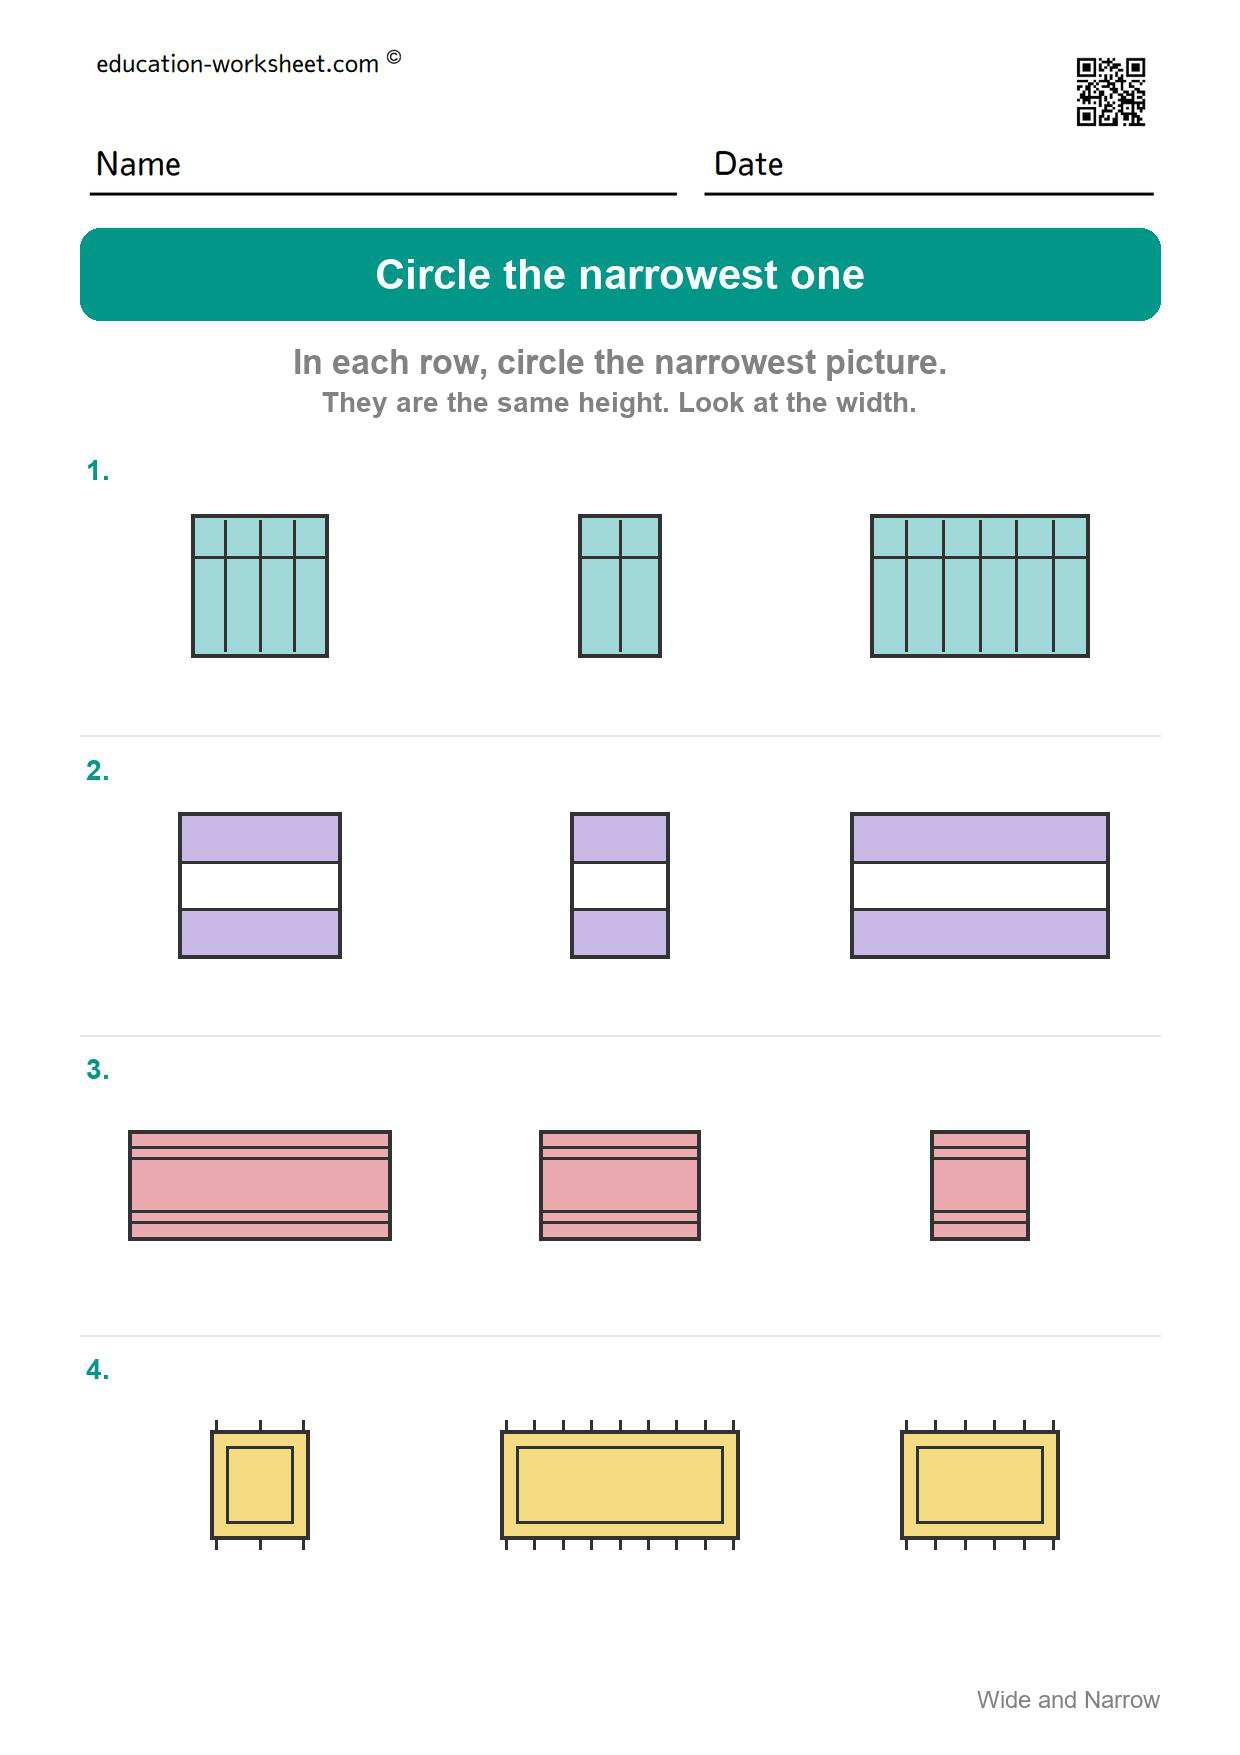
Worksheet 6 – Circle the Narrowest One
The first narrowest page. Three choices and the harder of the two superlatives, because children hear widest far more often than narrowest in everyday speech. 4 rows, 3 pictures in each row.
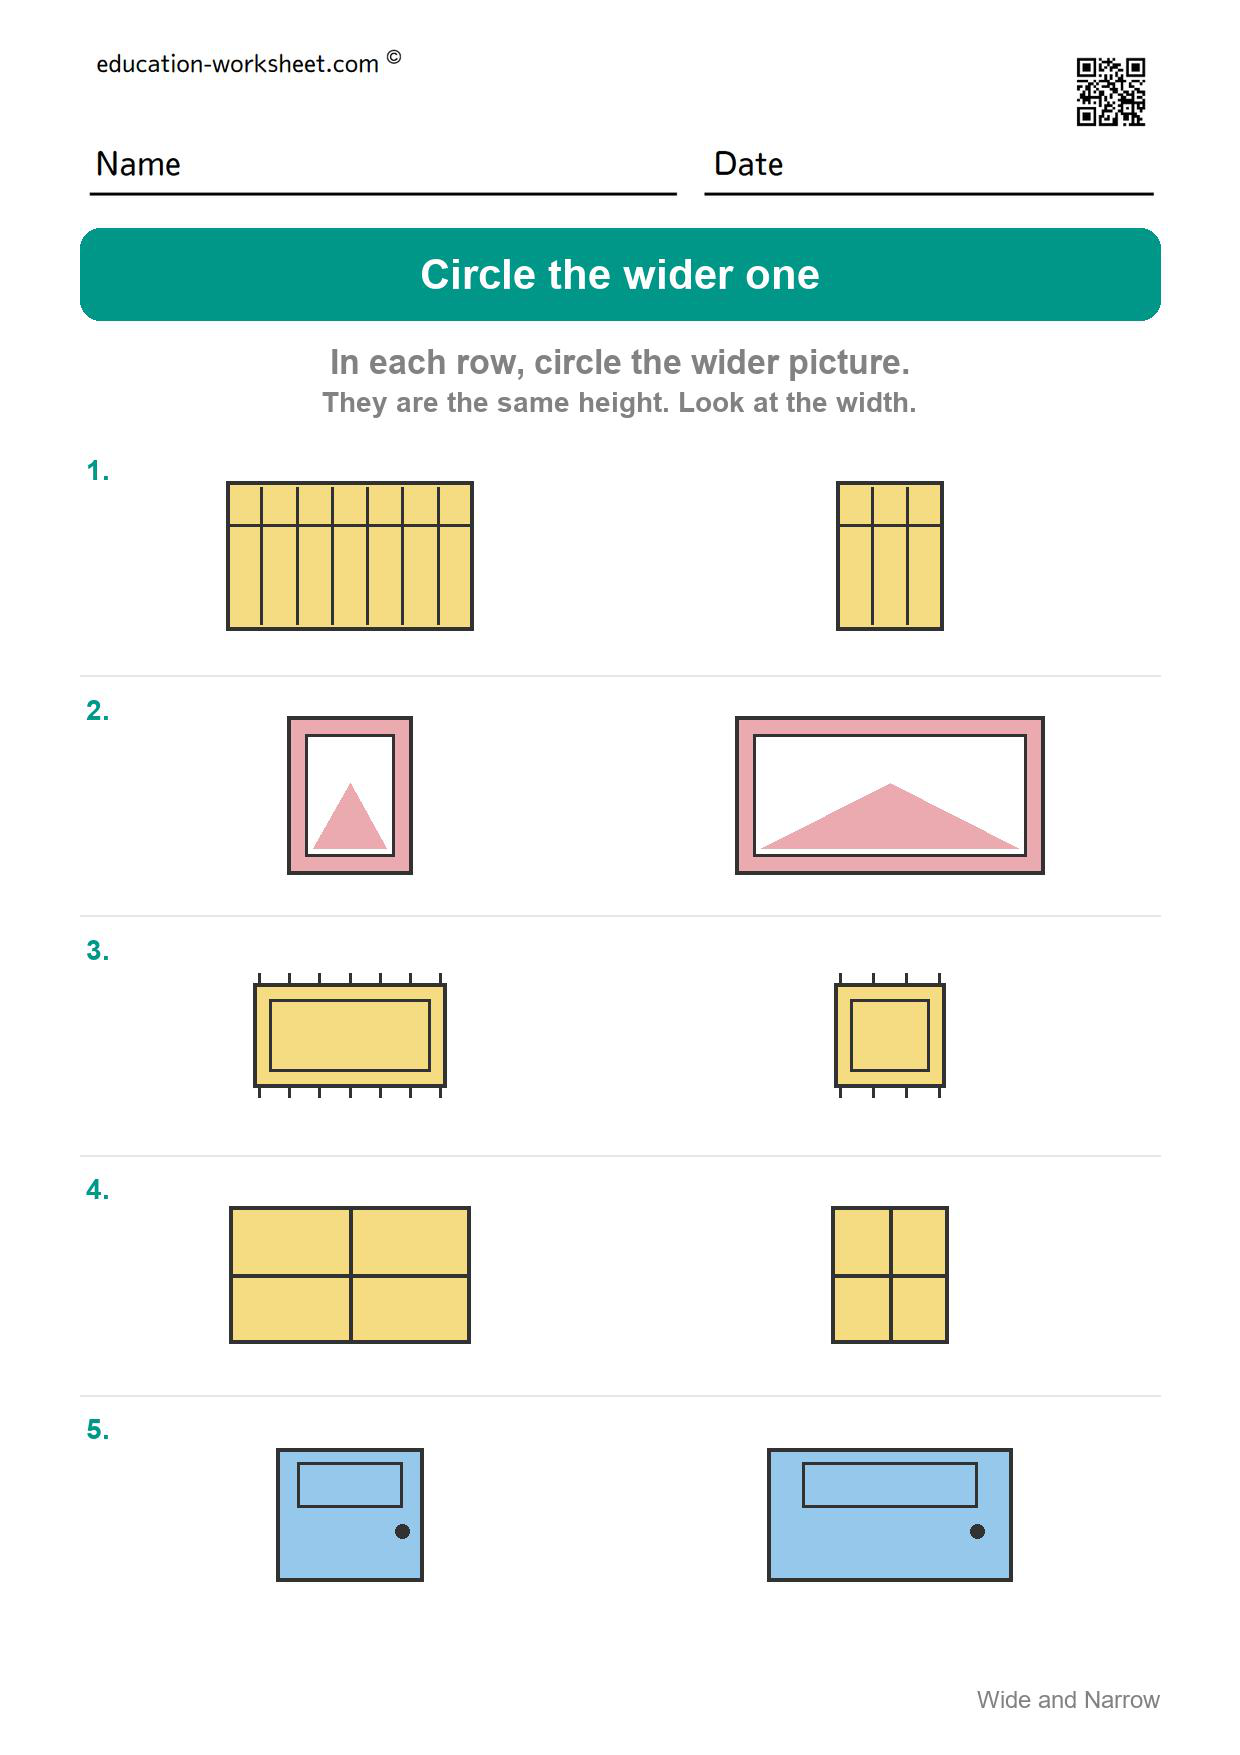
Worksheet 7 – Circle the Wider One
A mixed set of pictures with the widest choice appearing on the left in some rows and on the right in others, so position gives nothing away. 5 rows, 2 pictures in each row.
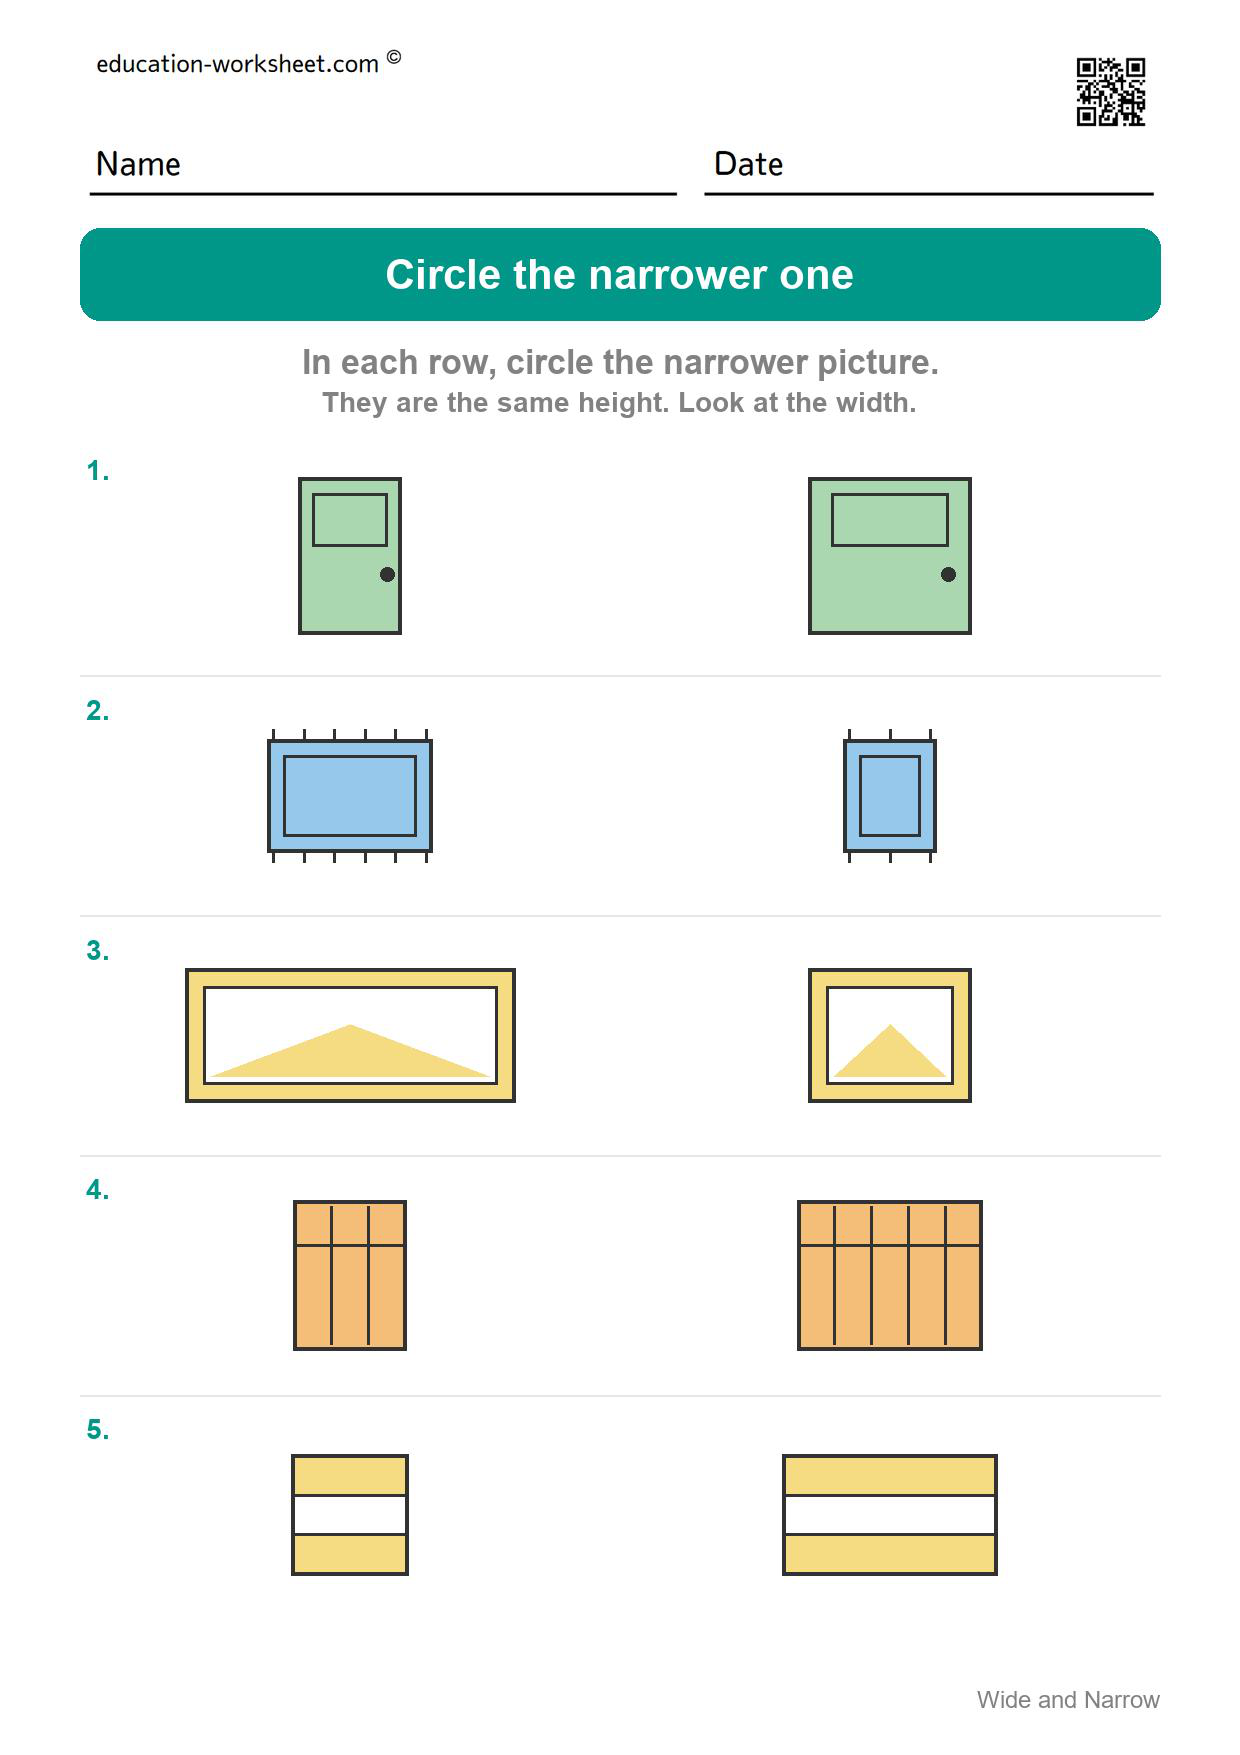
Worksheet 8 – Circle the Narrower One
Narrower, with the closest pairs in the pack. By this point most children have stopped needing to be told that the pictures are the same height. 5 rows, 2 pictures in each row.
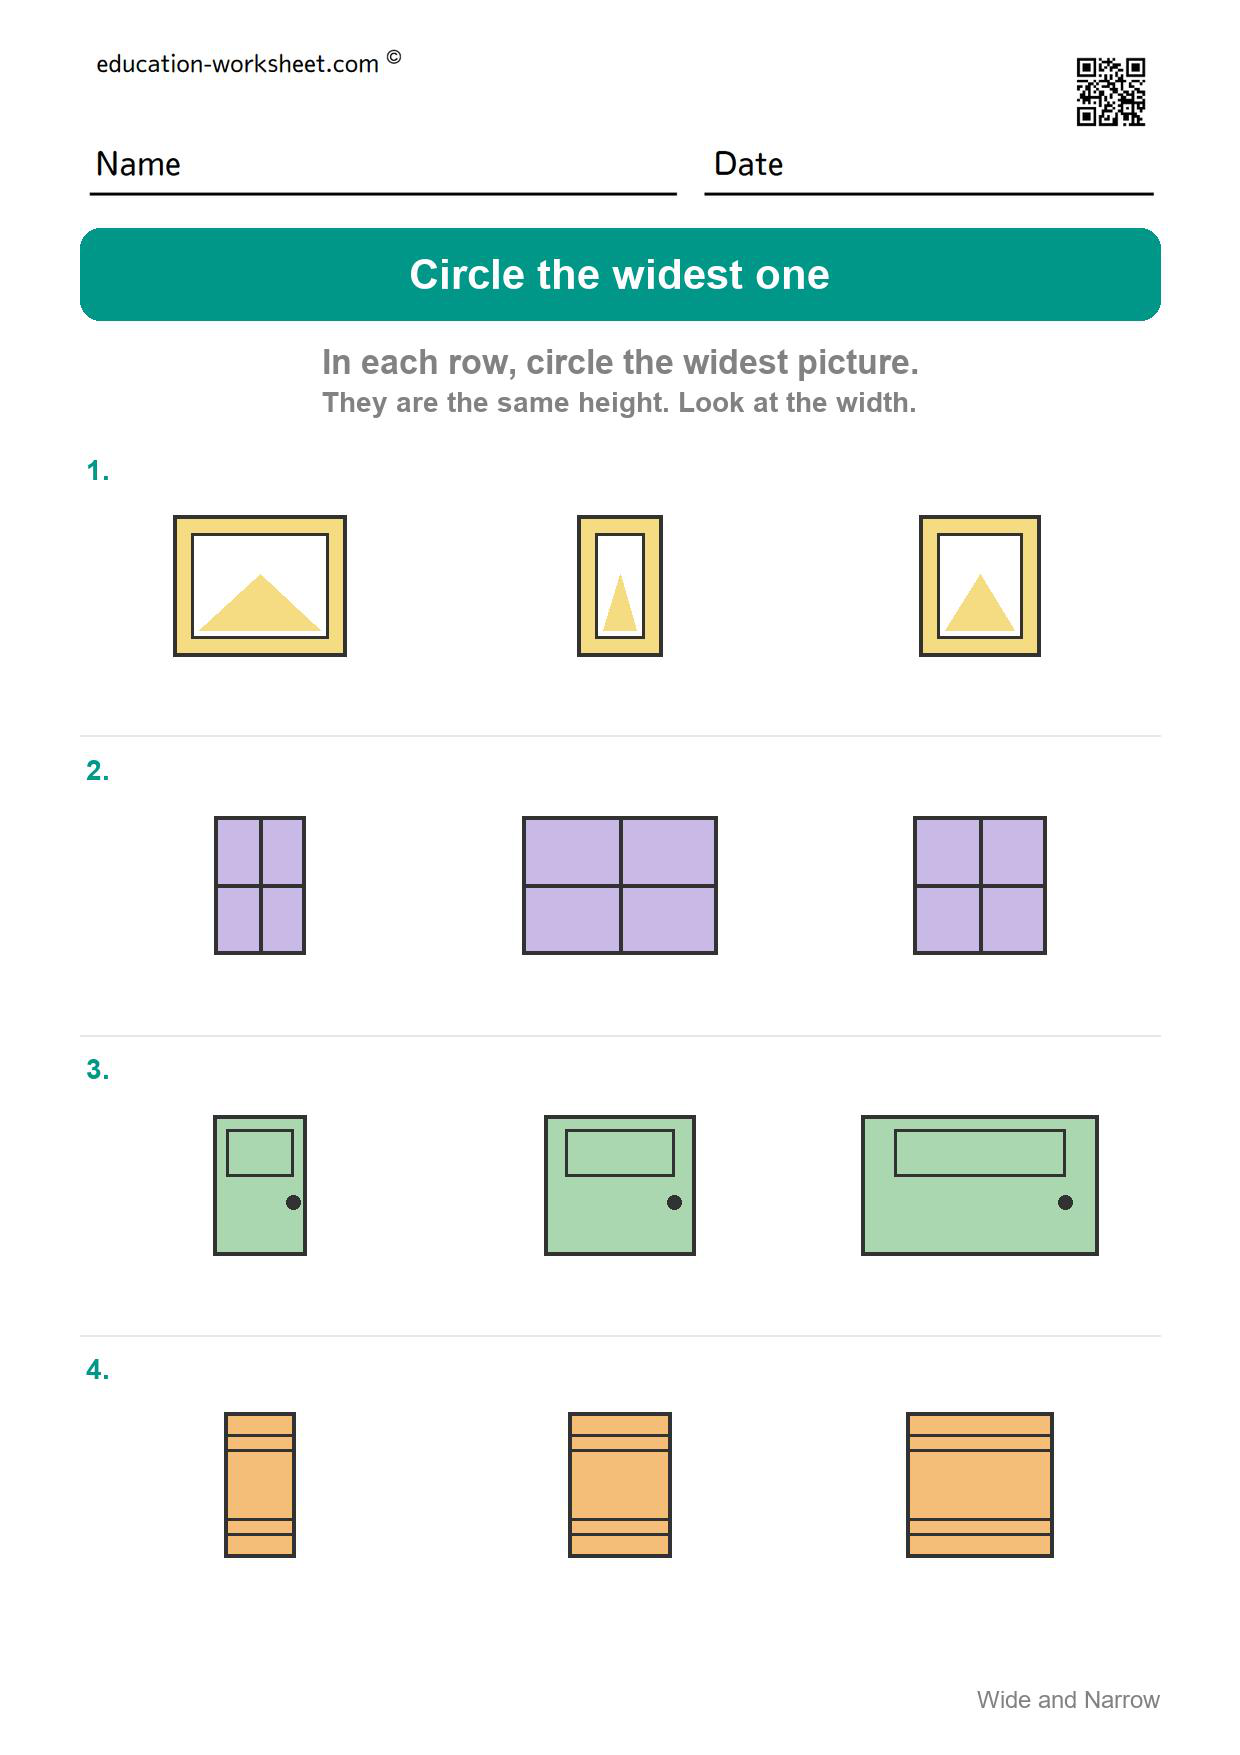
Worksheet 9 – Circle the Widest One
Widest with three choices again, now that the word is familiar. Ask your child to say why they chose theirs; explaining the reason is where the vocabulary sticks. 4 rows, 3 pictures in each row.
Worksheet 10 – Circle the Narrowest One
The last page brings back narrowest with three pictures per row. Finishing here means a child has met both words, in both the comparative and the superlative form. 4 rows, 3 pictures in each row.
Answer Key for All 10 Pages
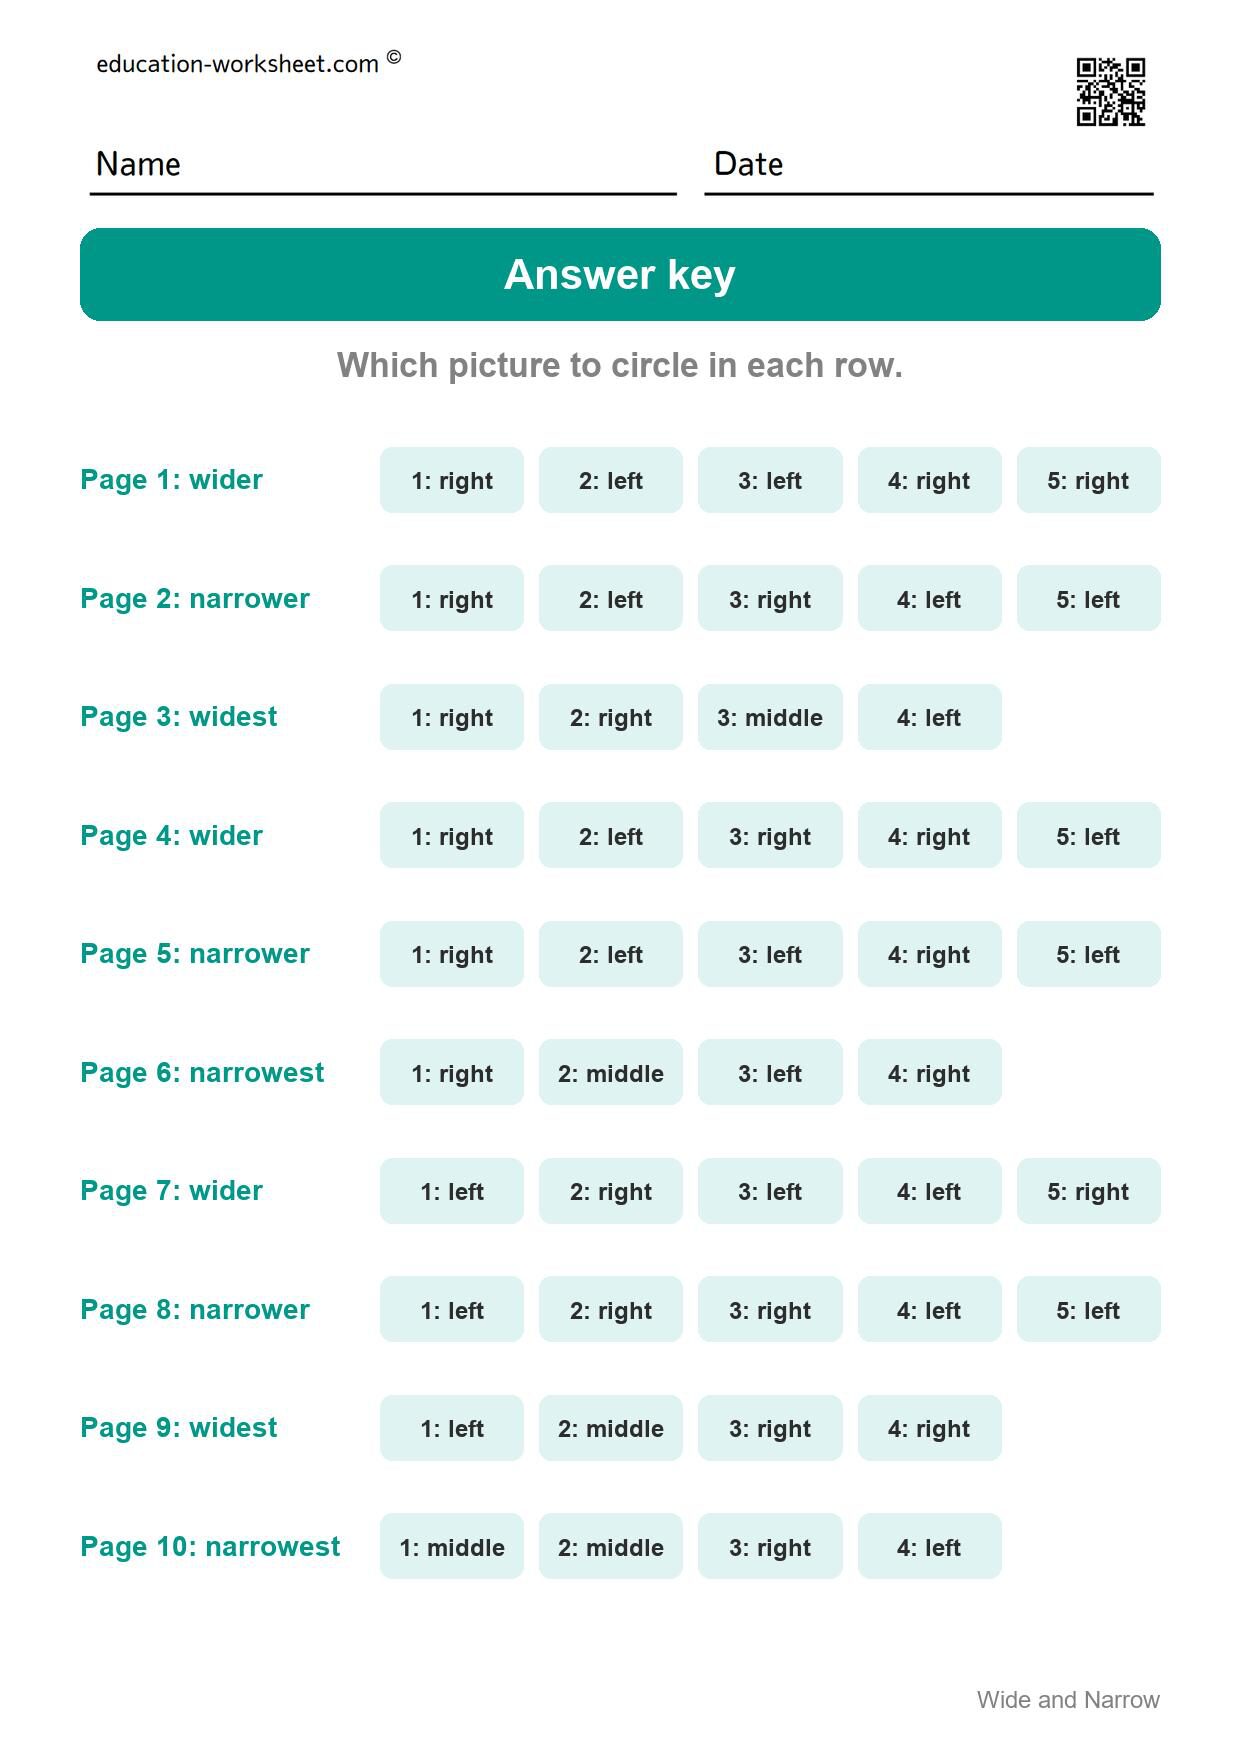
The final sheet lists the correct choice for every row on every page – left, middle or right – grouped by page number and by the word that page asked for. It is meant for the adult, but older children can happily mark their own work with it.
Wide, Wider, Widest: the Words Behind the Worksheets
Four words appear in this pack, and they are not four separate facts. Wide and narrow describe one object on its own. Wider and narrower compare exactly two. Widest and narrowest compare three or more. English marks that difference with the endings -er and -est, and this is often the first place a young child meets the pattern.
It is worth saying the ending out loud as you work: “this one is wide, but this one is wid-er”. Children who hear the pattern here recognise it later in taller, longer, heavier and biggest without being taught it again.
When Children Are Ready for These Worksheets
These pages suit children from about four to six years old – preschool, pre-K and kindergarten. The only thing a child needs beforehand is the ability to look at two pictures and say which is bigger. The vocabulary itself is taught by the pack.
In American classrooms comparing width sits inside the kindergarten measurement standards: describing a measurable attribute of an object, and directly comparing two objects that share that attribute to see which has more of it (Common Core K.MD.A.1 and K.MD.A.2). Width is one of the easiest attributes to start with, because it can be seen without any measuring tool.
How to Use These Worksheets
- Print the teaching page first and read the two words together.
- Find a real wide thing and a real narrow thing in the room – a door and a bookshelf, a table and a chair – before touching a pencil.
- Do one worksheet, then stop. Ten pages in one sitting will teach less than one page a day for ten days.
- Read the question at the top of each page aloud every time, even when your child says they already know it.
- Ask “how do you know?” on at least one row per page. The explanation is worth more than the circle.
- Mark the page together using the answer key so mistakes get looked at while the page is still fresh.
Three Things Children Get Wrong Here
Answering “bigger” instead of “wider”
Young children treat size as one single idea. If your child circles the picture that simply looks biggest, put your hands on the left and right edge of the picture and say “this much from here to here”. Showing the direction usually fixes it faster than repeating the word.
Circling the same side every time
A child who is not really looking will settle into circling the right-hand picture on every row. The narrower pages catch this immediately, which is exactly why they are mixed in from page 2 rather than saved until the end.
Using widest when there are only two pictures
Saying “that one is the widest” about two objects is a normal stage, not a mistake to correct sharply. Simply repeat the sentence back with the right word – “yes, that one is wider” – and move on.
Printing Tips
- Choose Actual size or Fit to page so the pictures keep their proportions. Scaling the page unevenly would change the answers.
- Each page fills one sheet and works on both US Letter and A4 paper.
- The pictures are colored, but the pages still work printed in greyscale – the comparison is about shape, not color.
- Slip a page into a plastic wallet and use a dry-wipe pen if you want to reuse it with more than one child.
Frequently Asked Questions
What age are wide and narrow worksheets for?
About four to six years old. Three year olds can do the teaching page and the first two worksheets with an adult sitting alongside them.
What is the difference between wide and narrow, and long and short?
Wide and narrow describe how much something measures from side to side. Long and short usually describe the longest direction of an object, whichever way it points. Teaching them in separate sessions avoids a lot of confusion.
Do I need to sign up to download these?
No. Every PDF on this page downloads immediately, with no account, no email address and no cost.
Is there an answer key?
Yes – the last page covers all ten worksheets, row by row.
Can I use these in my classroom?
Yes. They are free to print for home and classroom use. Please do not sell them or re-host the files on another site.
More Free Comparing and Measuring Worksheets
- Free Heavy and Light Worksheets for Kindergarten – Compare Weight
- Free Empty and Full Worksheets for Kindergarten – Compare Amounts
- Free More or Fewer Worksheets for Kindergarten – Compare Two Groups
- Free Adjectives Worksheets for Kindergarten – Describing Words
- Free Left and Right Worksheets for Kindergarten – Which Side
- Free Counting 1 to 10 Worksheets for Preschool and Kindergarten – Count and Write